
Grading quizzes has traditionally been one of the most time-consuming tasks for teachers. Whether the test is as basic and simple as multiple choices or as complex and involving as short answer questions, the manual process takes hours. Thankfully, Google Forms has a built-in quiz function that helps make grading easier since the platform takes care of much of it for you.
Here, in this blog, we will take you through a detailed guide to how you can grade Google Forms.
Table of Contents
Why Grade Google Forms?
Google Forms offers several advantages that make it the perfect tool for grading quizzes:
- Automation: With Google Forms, you can set up automated grading for multiple-choice, checkboxes, and dropdown questions. Not only does this feature make it faster, but there is uniformity in grading all of the quizzes.
- Instant Feedback: The system provides instant results as students know their performance without delay. Given this, automatic grading enables learners to see what they got wrong and feedback fosters faster learning.
- Data Collection: Google Forms can be seamlessly connected to Google Sheets so students as well as teachers can easily manage quiz data. It is possible to sort responses and analyze patterns in them; besides, the responses can be exported to save the records.
- Ease of Sharing: Sharing quizzes as well as results is as easy as forwarding a link. After completing the form, you are able to email it or you can also submit it to Google Classroom. In addition, there is an option to share grades as soon as one quiz is done.
All these make Google Forms the best tool to use especially for educators and persons who wish to ease their grading system.
How to Grade Google Forms?
Step 1: Create Your Google Form
The very first step to grade Google Forms is to create a new form. Go to the Google Forms website and click on the (+) icon to create a form from scratch. Alternatively, you can use the ready-made templates and simply edit them.
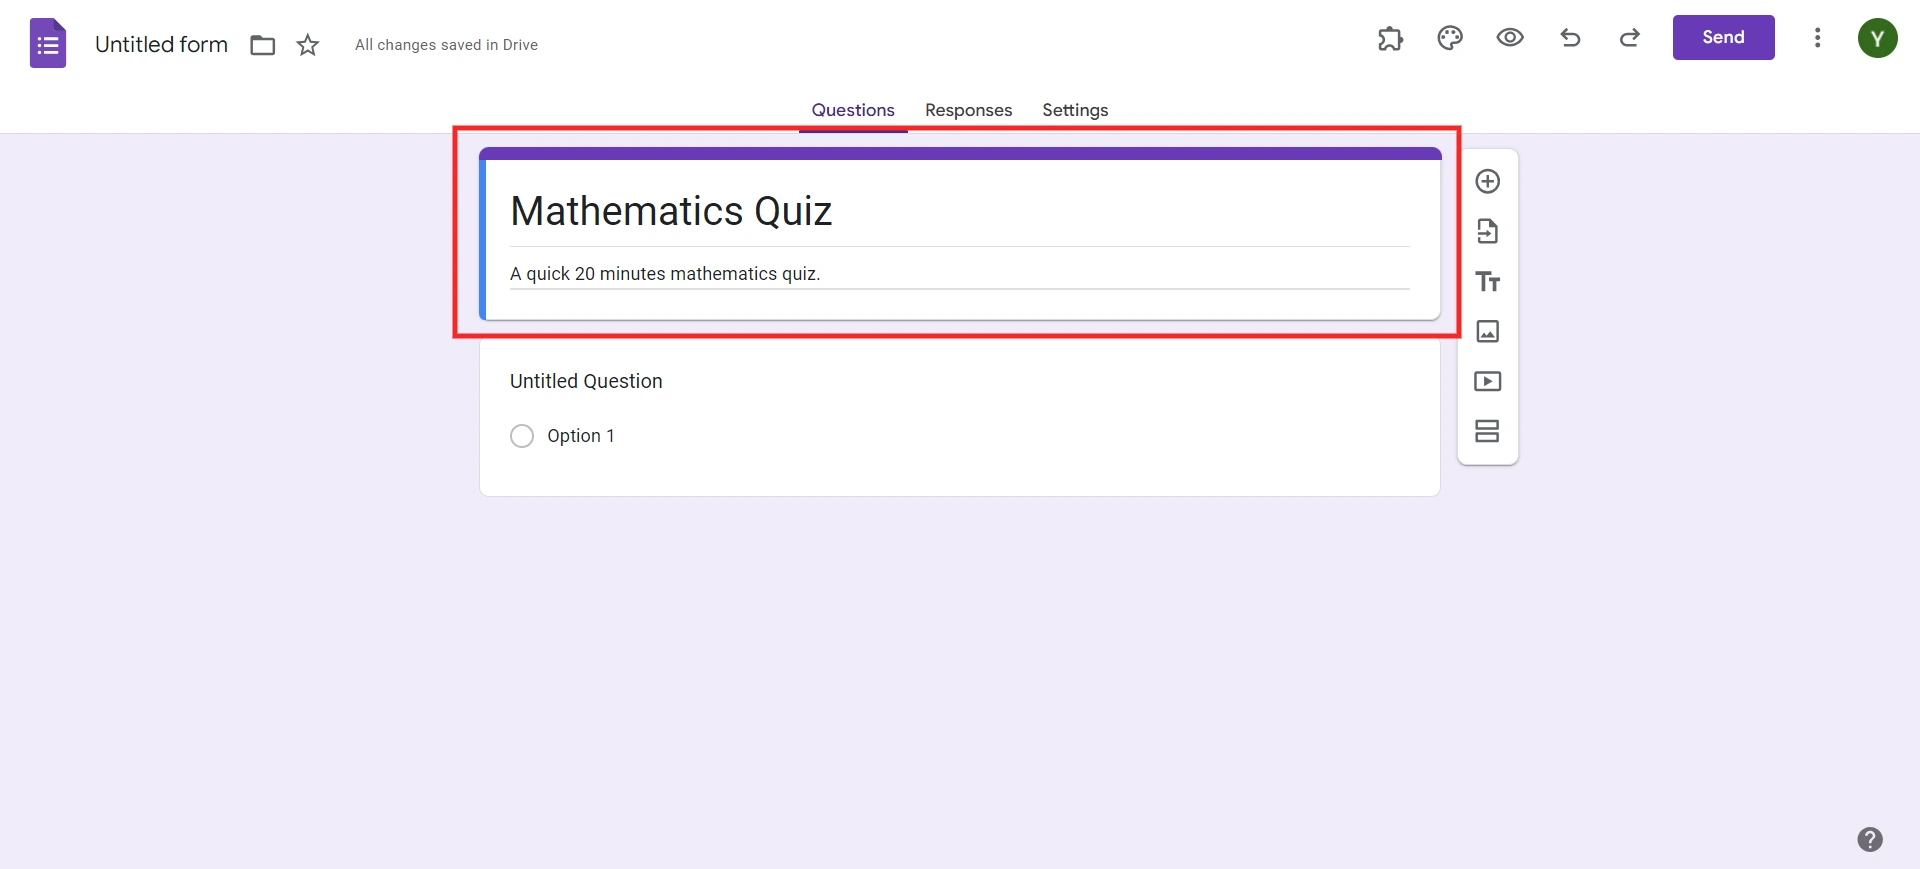
Here, in this detailed guide to grade Google Forms, we will create a form from scratch.
After clicking on the (+) icon, name the form and give it a short and precise description.
Step 2: Make It a Quiz
After you have created your questions, the next thing need to do is to transform your form into a quiz. To do this, in turn, there is a button located at the top of the page – the settings gear icon. After the link has been opened, highlight the quiz after scrolling down to the “Settings” tab and selecting the “Quizzes” tab, now turn on the “Make this a quiz” button.
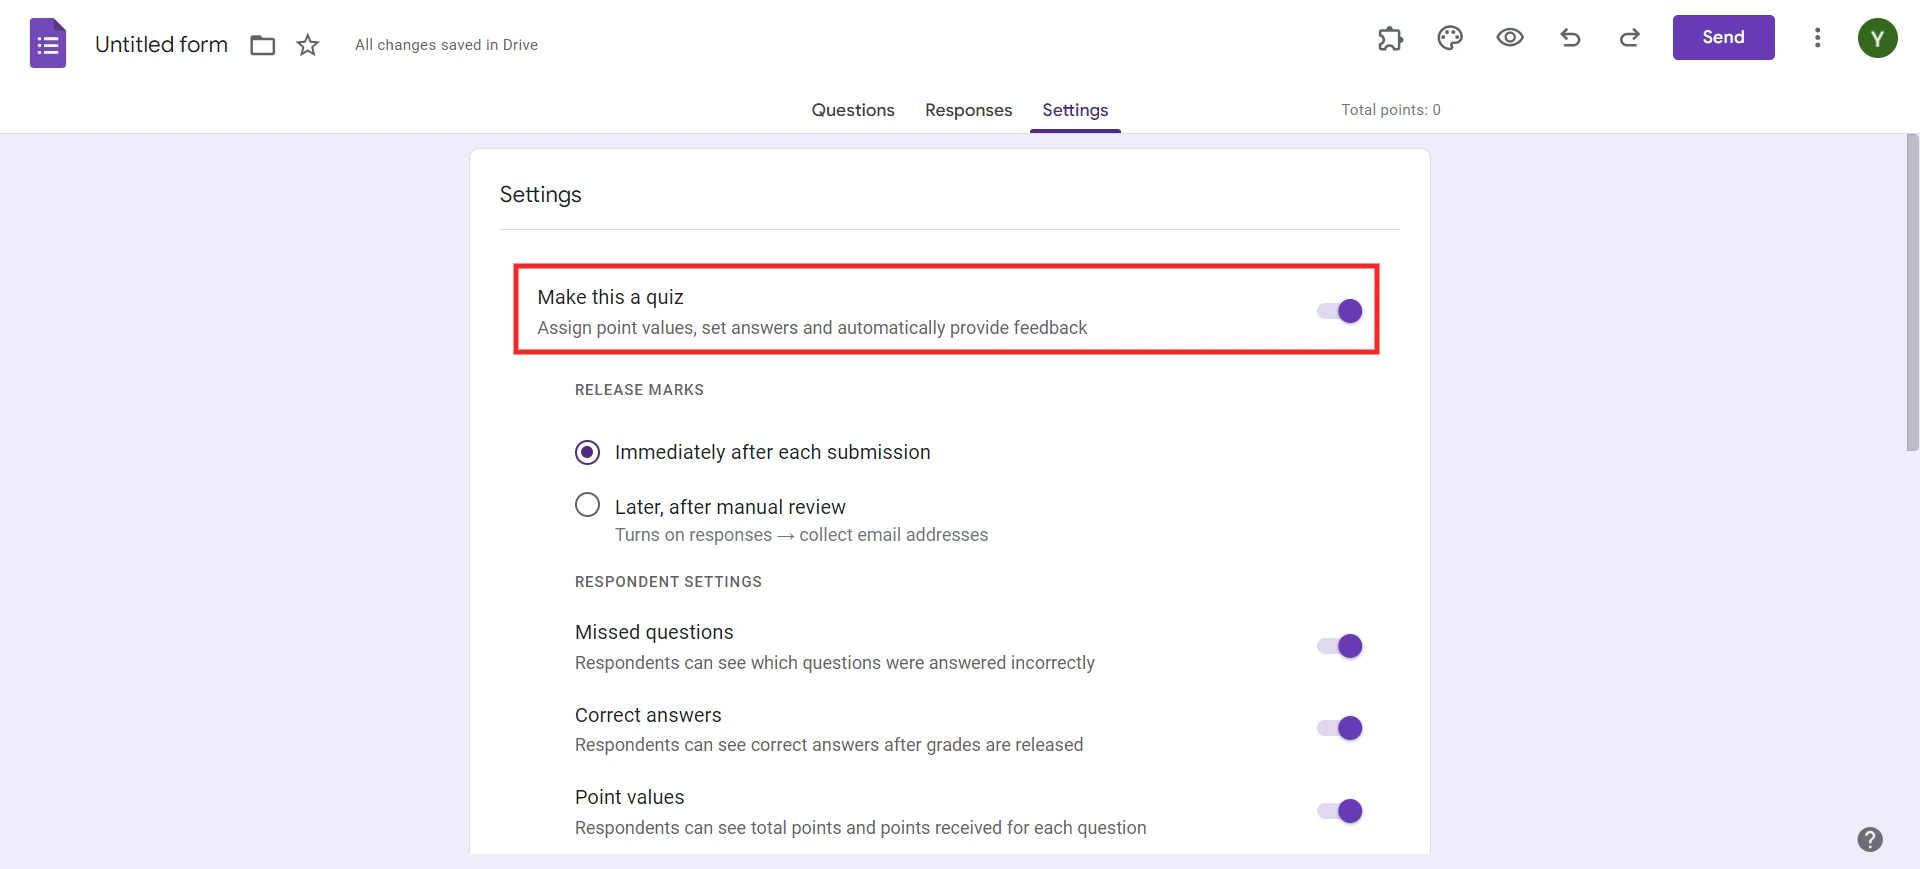
This will help Google Forms to auto-grade your quiz, provided you have selected the right question’ types. You can also decide when to release the grades: either right after you submit them, or at a later time after you have gone through the comments yourself.
Are you a business owner and want to create forms? Read, Creating Business Forms Using Google Forms (7 Simple Steps)
Step 3: Create Your Quiz and Answer Key
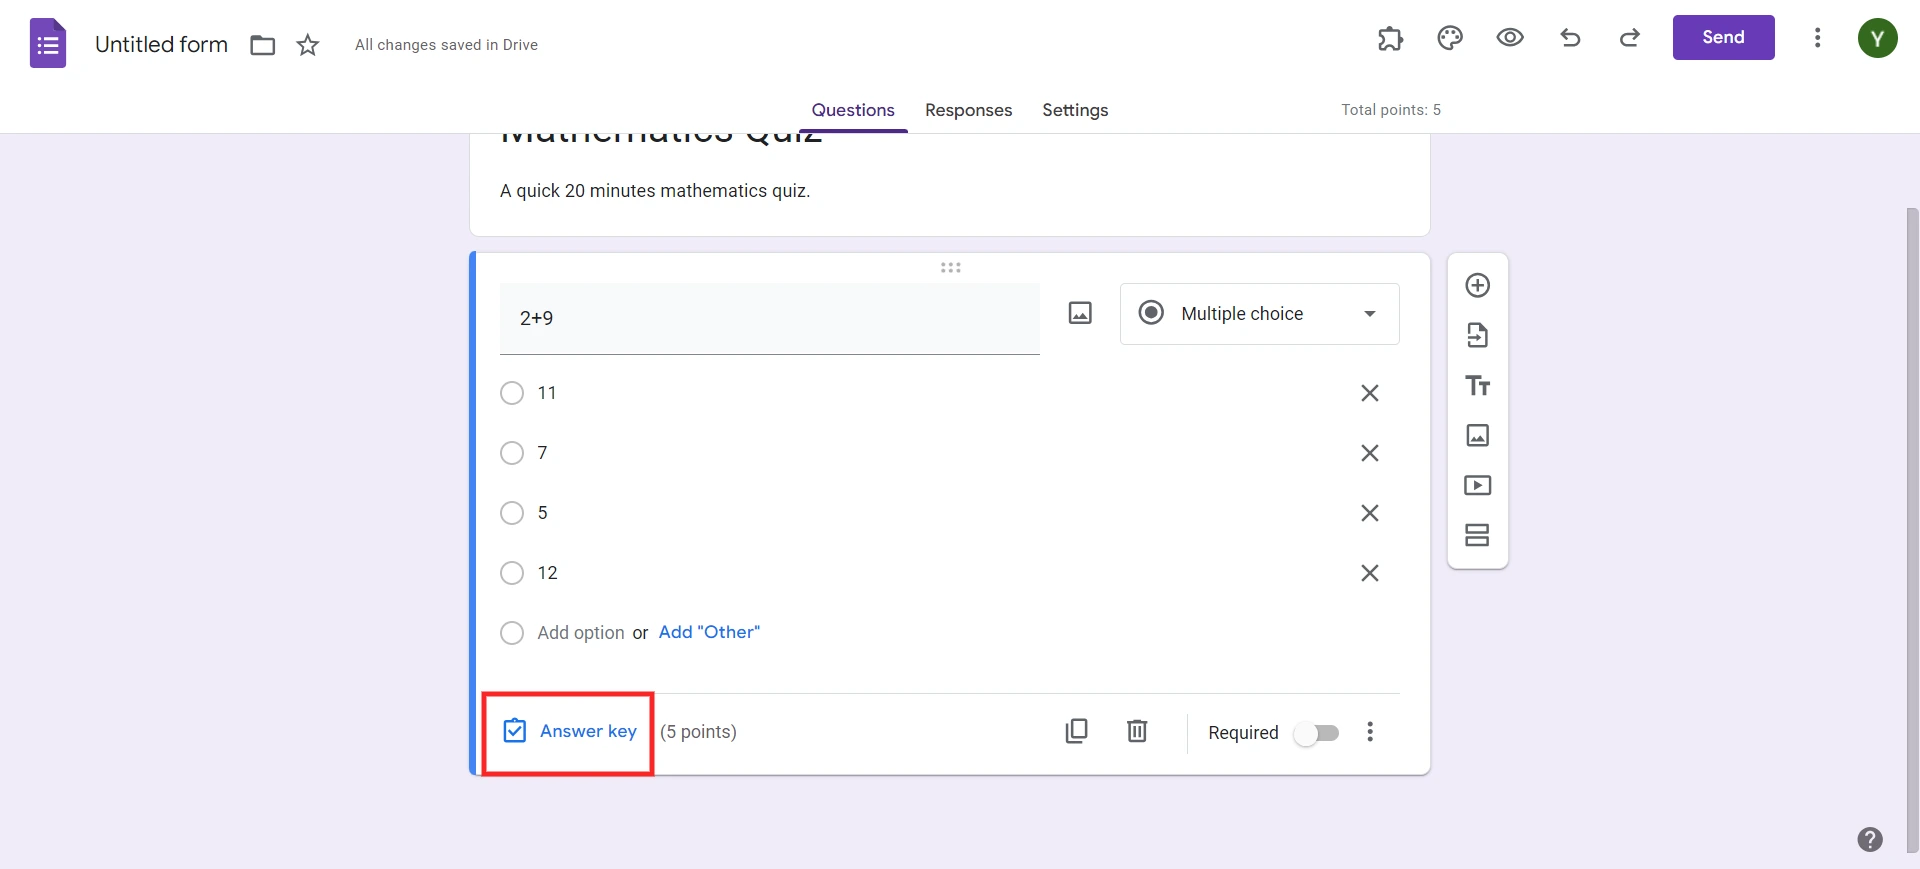
Now that your quiz is enabled, it’s time to set up your answer key. For each question, select the correct answer or answers, and assign point values to each one. This is where the automation comes into play—Google Forms will use the answer key to grade the quiz automatically.
To create the answer key:
- Click on each question.
- At the bottom of the question, you’ll see the option to “Answer key.” Click on it.
- Select the correct answer(s) for multiple-choice or checkbox questions.
- Assign points to each question. This can vary depending on the complexity of the question.
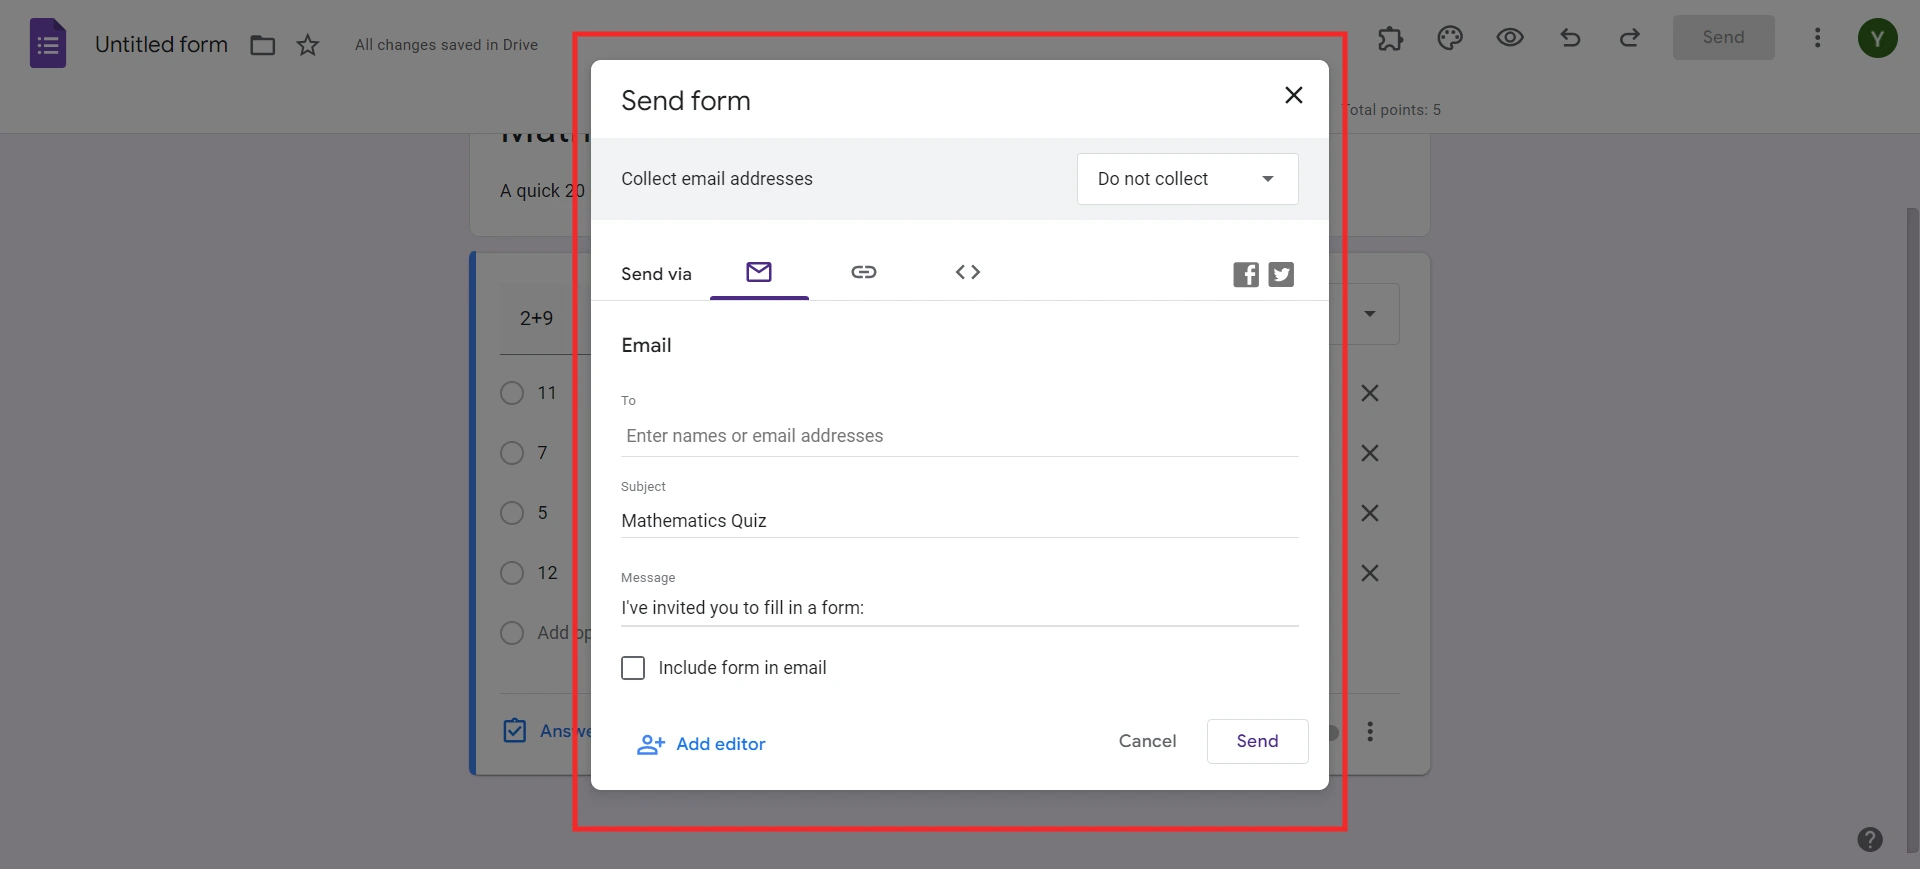
Step 4: Send out Quizzes to Students
Once you have created the quiz, its time to share it with your students. Click on the “Send” button on the top right corner of the form. You can share the form in 3 different ways:
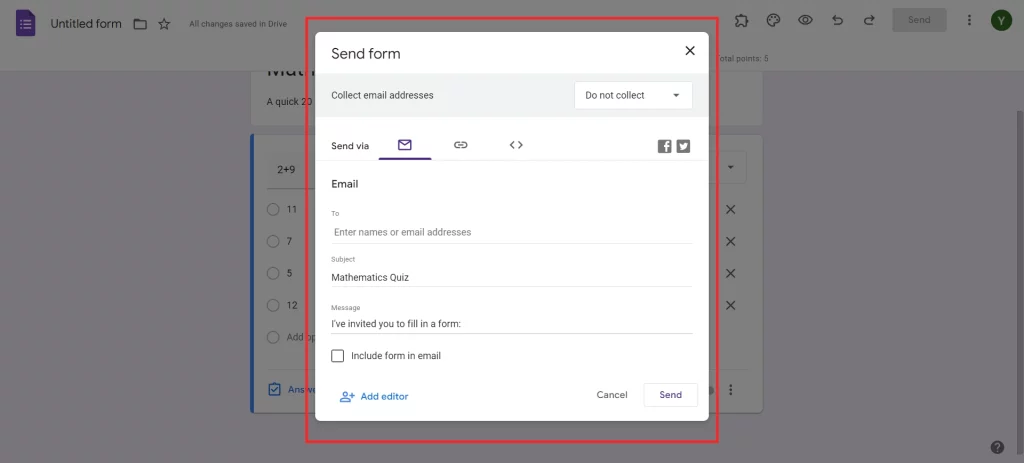
- Email: You can directly email the quiz to students.
- Link: Google Forms provides a shareable link.
- Embed: You can also embed the quiz on a website.
Step 5: Observe the Results
When the students are through with the quiz, Google Forms will be able to grade out the questions that you have set for auto-grading. The information on the responses can be viewed in real-time, and from the “Responses” section, it is possible to look through each individual student’s answers.
Step 6: Grade Quizzes and Submit Feedback
If you prefer to review the results before sharing, you can manually release the grades. Go to the “Responses” tab, review the quiz submissions, and click on “Release scores” to send the grades to your students.
How to Share Grade Results With Students
Send Them Their Google Form Results Automatically
Google Forms can be customized to email the students the result of their quizzes as soon as they are done with the test. As long as you choose “Immediately after each submission” in the quiz settings, students receive prompt feedback.
Send Them Their Google Form Results Manually
To release the grades you can do it manually, click on ‘Responses’, and review the submitted quizzes. Next, click on the ‘Release’ to immediately release the scores to the students.
Create Timer-based Google Forms With Extendedforms
For a more controlled quiz environment, use the ExtendedForms add-on. It adds a timer to your Google Forms, limiting the time students have to complete the quiz. This feature is particularly useful for timed assessments and maintaining exam integrity.
Considering Everything Above
Grade Google Forms is the real deal for any educators, trainers, and anyone involved in assessment. This tool removes the legwork of grading and the waiting to offer feedback – with just the touch of a button. No matter if you are assigning easy tests or difficult tests, the teaching tips in this article provide six strategies for effectively using Google Forms grading.
If you like reading this detailed guide on grade Google Forms, also read our detailed guide on How to Add a Hyperlink to Google Forms. (7 Simple Steps) a