Want to make a customized business form?
Google Forms is a versatile, user-friendly tool perfect for creating business forms, whether it’s for collecting feedback, processing orders, or gathering client information. Customizing these forms helps reinforce your brand’s identity, making a professional impression on respondents.
In this blog, we will give you a detailed guide to how you can make customized business forms in Google Forms.
Table of Contents
Why Should You Have a Customized Business Form?
Customized forms go beyond collecting information—they represent your brand. A well-designed form builds trust, enhances the user experience, and gives your business a cohesive look across all touchpoints. By incorporating branding elements, like your logo and color scheme, your form becomes an extension of your company’s identity, which can help reinforce brand recognition, improve response rates, and establish a professional connection with your clients or customers.
Steps to Create a Customized Business Form
Step 1: Create Your Business Form on Google Forms
The very first step to creating a customized business form is to open Google Forms, and there, click on the “+” button as it helps you create a form. Ensure that you balance a title that is long enough to give particulars of the form and one that is short. Simply put, ensure that the title you put on your form should be post-coded to something like Customer Satisfaction Survey or New Client Intake Form.

Include a short note that will read, for example, “Kindly fill in the following questions to enhance respect for experience.” Insert questions that will be appropriate for your inquiry. Google Forms has various types of questions including multiple choices, short descriptions, checkboxes, and among others in a bid to allow clients to capture data in various methods.
Want to connect your forms with Google Sheets? Read, How to Connect Google Forms to Google Sheets? (Explained in 2 ways).
Step 2: Customize the Basics of Your Form
After questions are set, in order to open more options go to the “Settings” tab, located at the bottom. Features include being able to capture email addresses, limiting submissions per respondent, or toggling between quiz modes.
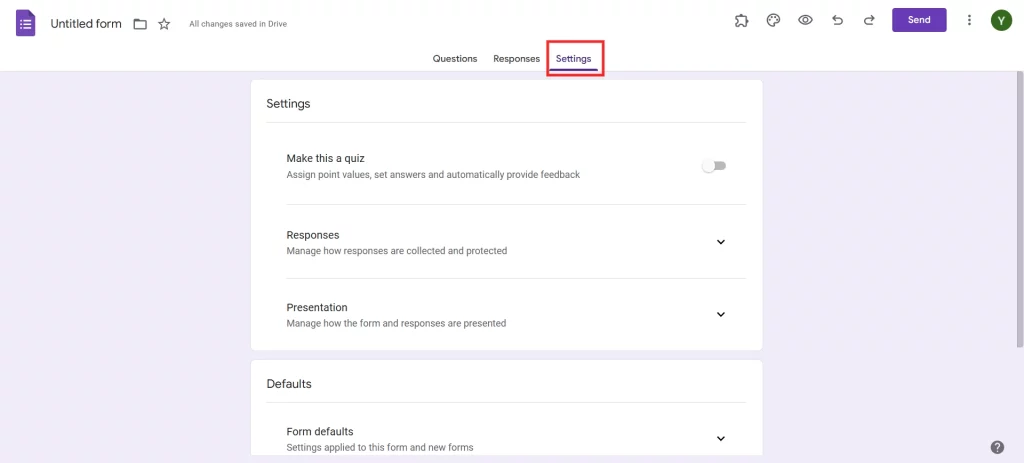
When choosing to design an internal form, make it open only to authorized users by making it secure by requiring a login. Fine-tune the response settings to stabilize the answer type to make the data more manageable.
Step 3: Add a Header Image With Your Business Logo
When you have reached the top of your form click on the paint palette icon then click on “Choose image” to set the header. The image should preferably be one associated with the business logo or a brand image. Both Canva and other tools provide pull-down menus to select specific image sizes, and Google Forms headers are 1600 x 400 pixels.
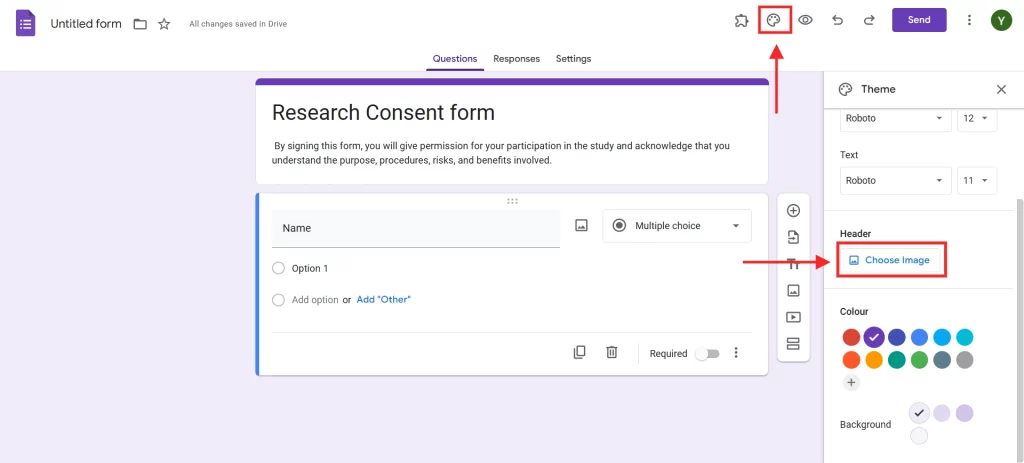
The header, in particular, must not be overly complex so that potential respondents would not have the impression that they are dealing with messengers; it is also important that it looks professional and corresponds to the form’s purpose.
Step 4: Adjust Font and Color to Fit Your Business’s Branding
Choosing this option you have to select primary colors in the palette section where you uploaded your header.
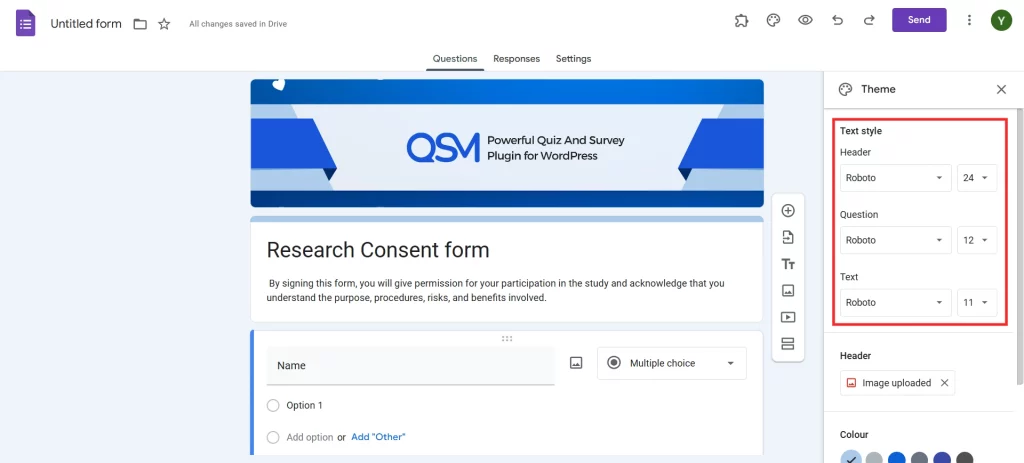
Users can select from various default themes or input a hex color value for brand tones. Pick a font style that reflects your brand’s tone: Available designs are either “Formal” for use in organizational settings, “Basic” for informal settings, or “Decorative” for artistic brands.
Want to create an order form for your business? Read, How Do You Create a Google Forms Order Form? (4 Easy Steps)
Bonus Tip: Add Timer With Extendedforms
Adding a timer is especially useful for assessments, surveys, or feedback forms that need to be completed within a specific timeframe. While Google Forms itself doesn’t offer a countdown feature, you can integrate one using an addon called ExtendedForms.
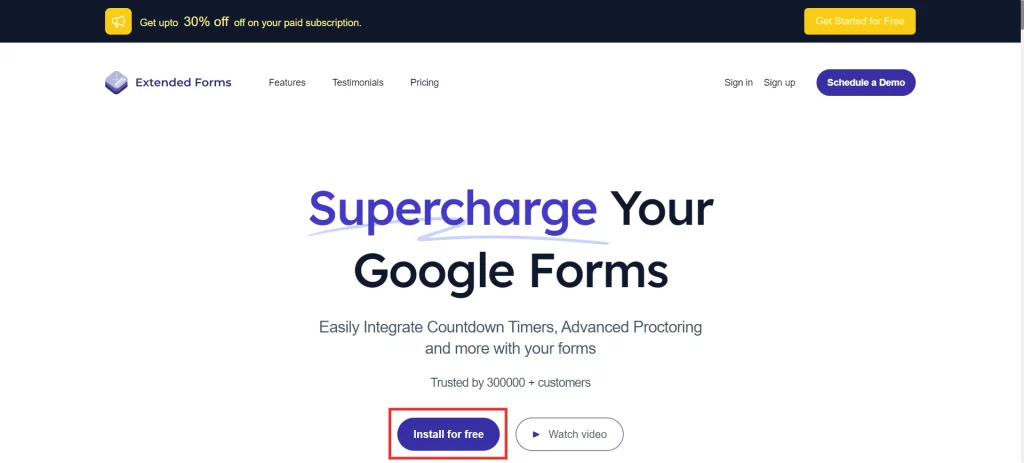
Start by installing ExtendedForms, then access it from the add-ons menu (represented by a puzzle piece icon). Configure the time settings, choosing how long respondents have to complete the form, and whether to automatically submit their answers when time expires. Adding a timer can be helpful for internal assessments or client feedback sessions where time management is essential, creating a focused and efficient experience for users.
In a Nutshell
Google Forms is a powerful tool, but customizing it with your branding elements can elevate its impact. By following these steps, you can create a professional and engaging business form that reflects your brand’s identity—from adding a logo header to choosing custom colors and fonts. Customized forms not only look more professional but also increase engagement, making them more effective in collecting the data that’s vital for your business.
We hope this blog has helped you make a customized business form in Google Forms. If you liked reading this, also read our detailed guide on How to Add a Countdown in Google Forms? (4 Easy Steps) and How to Italicize in Google Forms (4 Easy Ways).
