Generating invoices manually can be time-consuming and prone to errors. However, using Google Forms, you can automate the process and create personalized invoices with Google Forms efficiently. This method ensures that each invoice is customized based on user responses and automatically sent to the recipient. With just a few simple steps, you can streamline your invoicing system and eliminate repetitive manual work.
In this blog, we will walk you through five easy steps to generate personalized invoices with Google Forms and integrate them seamlessly into your workflow.
Table of Contents
Steps to Generate Personalized Invoices Using Google Forms
Step 1: Create a Google Form for Invoice Generation
The first step in generating personalized invoices with Google Forms is to create a structured form that collects all the necessary details for the invoice. This form will serve as the input for generating invoices automatically.
To set up your invoice form:
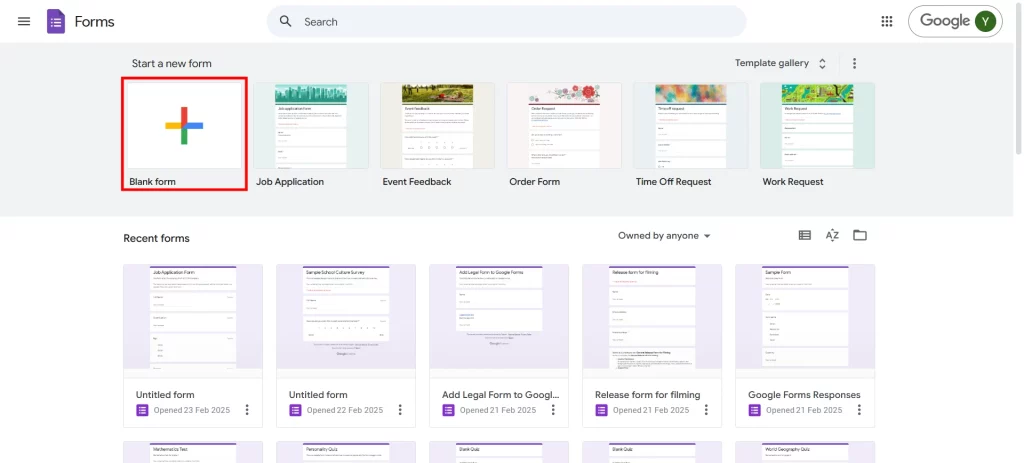
- Open Google Forms and click on Blank Form.
- Give your form a relevant title, such as “Invoice Generator”.
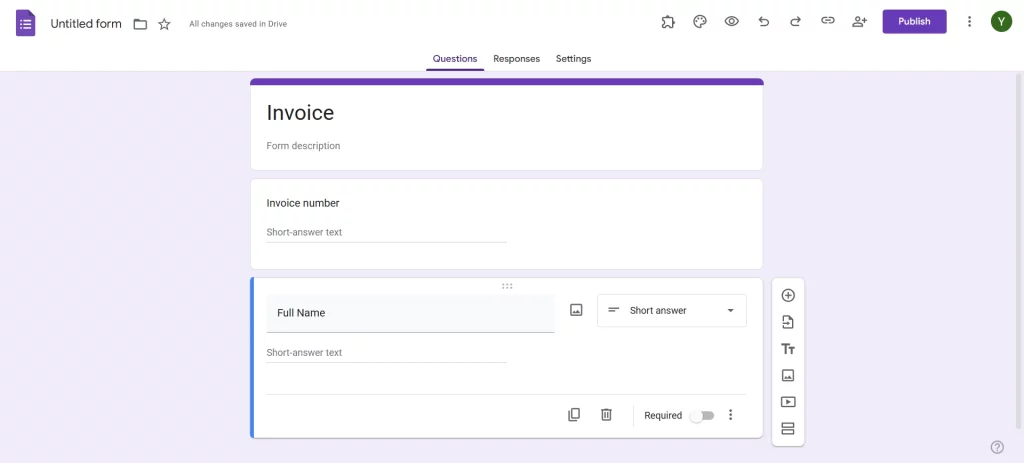
- Add fields to collect essential details like:
- Customer name
- Email address
- Invoice number
- Service/product description
- Quantity and price
- Total amount due
- Payment due date
- Set necessary fields as required to ensure no critical details are missing.
Once your form is structured properly, you can move to the next step.
Are you a business owner looking to add a logo to your Google Forms? Read, How to Add a Logo to Google Forms.(4 Easy Steps)
Step 2: Create an Invoice Form on Google Forms
Next, you need to design a Google Form that collects all the essential details for personalized invoices with Google Forms.
Include the following fields:
- Customer name
- Email address
- Invoice number
- Service/product description
- Quantity and price
- Total amount due
- Payment due date
Ensure that the form fields are set to required to avoid missing critical invoice details. Once your form is structured properly, you can move to the next step.
Step 3: Set up Your Response Document Template
Now that your form is ready, you need to create an invoice template in Google Docs or Google Sheets that will be used to generate personalized invoices with Google Forms.
To do this:
- Open a new Google Doc or Google Sheet.
- Design an invoice layout with placeholders for form responses (e.g., {{Customer Name}}, {{Total Amount Due}}).
- Save the document as your invoice template.
To automate the process, you can use Google Apps Script to fetch form responses and populate your invoice template. This ensures that each submitted form response will be formatted correctly into a personalized invoice with Google Forms.
Step 4: Enter Details About Customer Payment
Once your response template is set up, you can start customizing invoice details for each customer. Personalized invoices with Google Forms should include specific payment details such as:
- Payment methods (bank transfer, PayPal, credit card, etc.)
- Tax information, if applicable
- Invoice terms and conditions
- Late payment policies
By including these details, you ensure clarity for your customers, making it easier for them to complete payments on time. This step also helps in maintaining professional invoicing standards.
Want to add audio to the Google Forms? Read, How to Add Audio to Google Forms? (5 Easy Steps)
Step 5: Submit and Have the Invoice Automatically Sent
The final step in generating personalized invoices with Google Forms is submitting a test response to ensure everything works correctly. Fill out your Google Form with sample data and check if:
- The invoice is generated correctly using Google Apps Script.
- The invoice is automatically sent to the email provided in the form.
- All the details are formatted correctly in the final invoice.
If everything looks good, your system is ready! You can now start collecting responses and automatically sending invoices without manual effort.
Why Generate Personalized Invoices With Google Forms
Using personalized invoices with Google Forms provides several benefits:
- Automation: Saves time by eliminating manual invoice creation.
- Customization: Ensures each invoice is tailored to the customer.
- Error reduction: Minimizes the chances of incorrect invoice details.
- Seamless integration: Works with Google Drive, Sheets, and Docs for smooth data management.
- Cost-effective: Free to use with Google’s tools, unlike expensive invoicing software.
By leveraging personalized invoices with Google Forms, businesses can streamline their billing process and enhance customer satisfaction.
In Conclusion
Creating personalized invoices with Google Forms is an efficient and cost-effective way to automate your invoicing process. By following these five simple steps – creating a Google Form, designing an invoice form, setting up a response template, adding customer details, and automating the email process—you can significantly reduce manual work and improve accuracy in your invoicing system.
If you’re looking for an easy, automated way to manage invoices, personalized invoices with Google Forms is the perfect solution.