Google Forms has become a popular tool for creating quizzes, surveys, and feedback forms due to its ease of use and integration with Google Workspace. However, one major concern when conducting online assessments is maintaining the integrity of responses. This is where Google Forms’ locked mode comes into play. Designed primarily for educational settings, this feature ensures that students or test-takers cannot navigate away from the quiz, open other tabs, or access external resources while answering questions.
In this blog, we will explore what Google Forms’ locked mode is, how to enable it, and how it can be enhanced with additional tools like ExtendedForms.
Table of Contents
What Is Google Forms’ Locked Mode?
Locked mode is a security feature in Google Forms that prevents students from switching tabs, opening other applications, or copying and pasting content while taking a quiz. This mode is only available when using Google Forms within Google Classroom and requires a managed Chromebook to function. The feature enhances the credibility of online assessments by minimizing opportunities for cheating, making it an essential tool for educators and exam administrators.
When locked mode is enabled:
- The quiz opens in a full-screen mode.
- The user cannot open other browser tabs or applications.
- Screenshots and copy-pasting are restricted.
- If a student exits the full-screen mode, the teacher receives an alert.
Locked mode helps create a controlled testing environment, ensuring fair and secure assessments.
How to Turn on Google Forms Locked Mode
Step 1: Create a Google Forms Quiz
To use Google Forms Locked Mode, you need to create a quiz in Google Forms. Start by opening Google Forms and selecting either a blank form or a quiz template. Give your quiz a title and a brief description to inform participants about the purpose of the test.
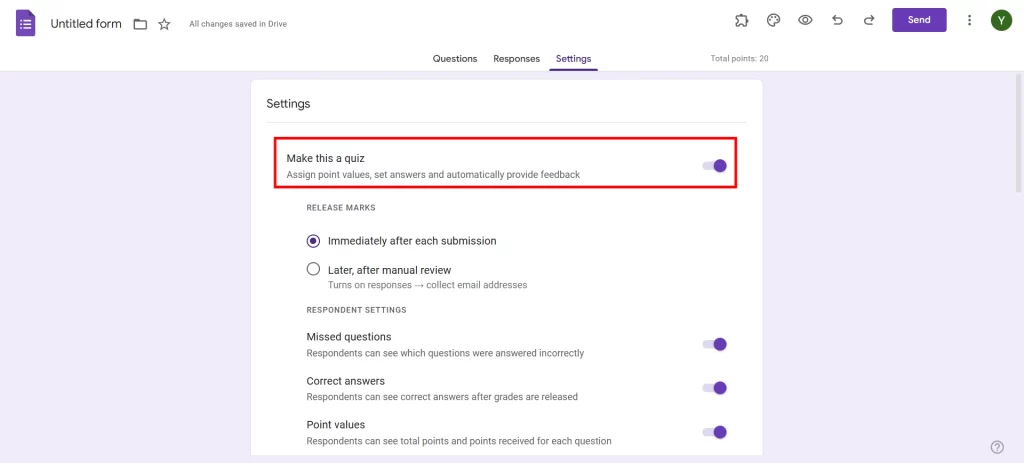
Next, add your questions using multiple-choice, short-answer, or checkbox formats, depending on your assessment needs. If you want Google Forms to automatically grade responses, enable the “Make this a quiz” option under the settings menu. Assign correct answers and point values to each question. This setup ensures that responses are collected efficiently and scored automatically, making it easier to manage assessments.
Step 2: Go to Quiz Options
After setting up your quiz, navigate to the settings gear icon located at the top-right corner of the Google Form. Click on it to access various configuration options. Then, go to the “Quizzes” tab to review settings related to quiz behavior and response validation.
To ensure Google Forms Locked Mode is available, confirm that the “Make this a quiz” toggle is turned on. This is a crucial step since Google Forms Locked Mode is only accessible when the quiz feature is enabled. Reviewing these settings allows you to adjust scoring options, release answer keys, and determine how students receive feedback after submission.
Are you a business owner and want to understand the preferences of your customers? Add ranking questions in your Google Forms. For more details, read How to Add Ranking Questions in Google Forms. (6 Easy Steps).
Step 3: Select “Turn on Locked Mode”
Now that your quiz is properly configured, it’s time to activate Google Forms Locked Mode. Scroll down to the “Chromebook settings” section within the quiz settings menu. Here, you will find an option labeled “Turn on locked mode.” Check this box to enable the feature.
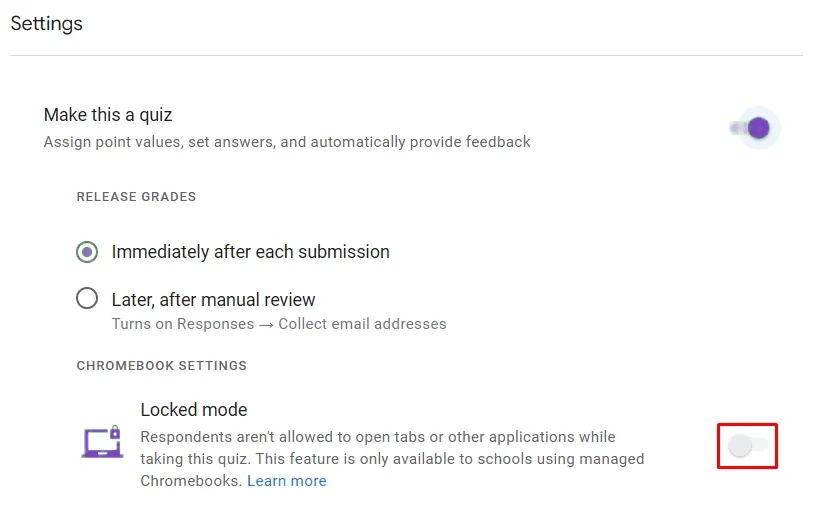
Once enabled, Google Forms Locked Mode will restrict students from switching tabs or opening other applications while taking the quiz. However, remember that this feature is only available for students using managed Chromebooks. If they attempt to exit full-screen mode or navigate away, Google will flag the action and notify the teacher, helping to maintain the integrity of the test.
Step 4: Save and Distribute Your Quiz
Once you have activated Google Forms Locked Mode, the final step is to share the quiz with students. Click the “Send” button at the top-right corner of your Google Form to access multiple distribution options. You can send the quiz via email, generate a shareable link, or assign it through Google Classroom.
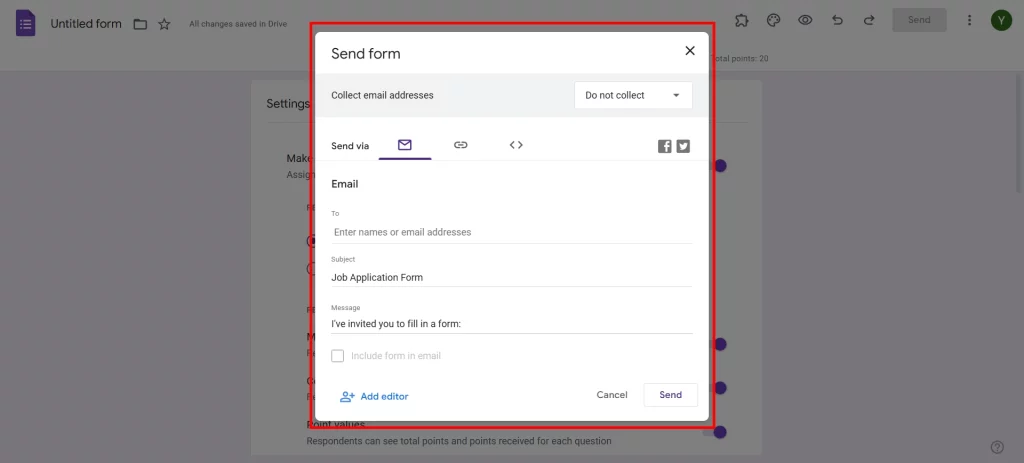
If you’re using Google Classroom, posting the quiz as an assignment ensures that students can access it directly from their dashboard. This method is particularly useful for organizing tests and tracking submissions efficiently. Once students begin the quiz, Google Forms Locked Mode will enforce the full-screen restriction, ensuring a secure and controlled testing environment.
Pro-tip Create Timer-Based Google Forms With Extendedforms
While Google Forms Locked Mode is an excellent feature for preventing cheating, it does not include a built-in timer. If you want to add a time limit to your quizzes, consider using an external tool like ExtendedForms.
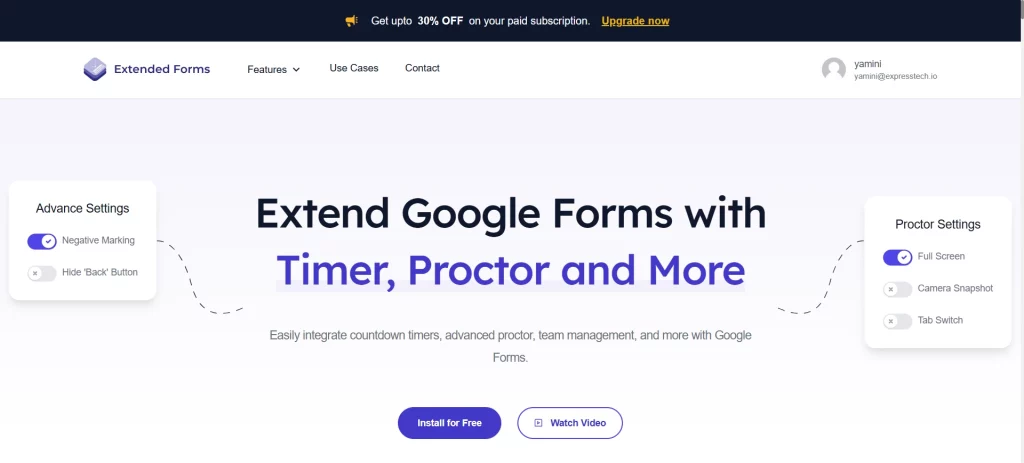
ExtendedForms is an add-on that allows you to set countdown timers for quizzes, automatically submit forms when the timer expires, and monitor response durations. This functionality enhances the exam-taking experience by adding an element of time management while maintaining assessment security.
Concluding Above
Google Forms Locked Mode is a valuable feature for educators and professionals conducting secure online assessments. By preventing students from opening other tabs, taking screenshots, or copying answers, it ensures a fair testing environment.
While this feature is limited to managed Chromebooks, additional tools like ExtendedForms can further enhance the quiz-taking experience by adding countdown timers and monitoring student activity.
If you like reading this blog, also read our detailed guide on Creating Business Forms Using Google Forms (7 Simple Steps) and How to Add a Hyperlink to Google Forms. (7 Simple Steps).