
Are you looking for an easy way to add linear scale to Google Forms?
From measuring satisfaction levels to quantifying opinions, adding linear scale to Google Forms helped you analyze information effectively. Whether you are a researcher, educator, or businessman, Google Forms makes it very easy to add linear scale to your forms. It is a powerful tool that can significantly enhance the quality and depth of data collected.
In this blog, we will give you a detailed guide on how you can add linear scale to Google Forms.
Why Use a Linear Scale?
Google Forms is among the best tools for creating surveys and obtaining information. A feature available in Google Forms is the linear scale, which means that the respondents can rate the items depending on the defined range of values, normally from 1 up to 5 or 1 up to 10. This style of question is suitable for collecting quantitative data and measuring attitudes or levels of approval, satisfaction, and relevance. Below are several reasons why using a linear scale in Google Forms can be advantageous: Below are several reasons why using a linear scale in Google Forms can be advantageous:
1. Easy to understand: Linear scale questions are easy to understand and can be completed within a short period; thus, they increase the response rate and data quality.
2. Quantitative Analysis: Scale responses that are linear in nature are inherently easy to sum, which means that fundamental analyses can be conveniently performed.
3. Measuring Degrees of Opinion: The scale enables respondents to be more detailed and measure the intensity with which they hold a certain view or have a certain experience.
4. Versatility: Linear scales are versatile in that they can be used with different kinds of questions that need evaluations of satisfaction, importance, frequency, and likelihood.
5. Enhanced Data Visualization: In particular, it is possible to provide graphic illustrations of the respondents’ reactions, which would help to facilitate the understanding of the specifics of the research conducted, the dynamics of their work, and potential trends that could be detected.
6. Improved Decision Making: The enlargened view of the linear scales allows for better planning and decision-making since the details that are otherwise left out by the use of other scales are captured fully.
To sum up, the linear scale in Google Forms is an easily customizable and efficient tool that improves the collection and quality of data. As an element of a survey, it is most useful where specific and measurable responses have to be collected from the respondents.
Steps to Add Linear Scale to Google Forms
Step 1: Create a New Form
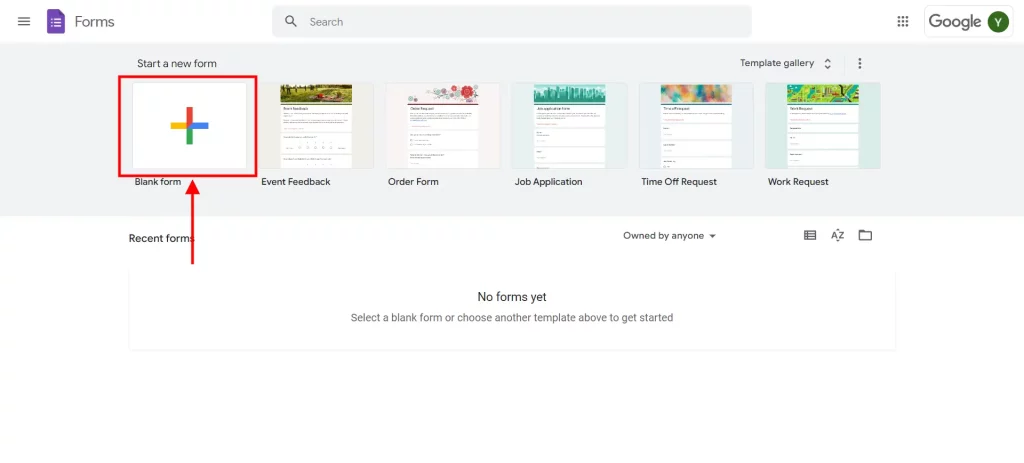
The very first step to adding a linear scale to Google Forms is to create a new form. For that, you will need to go to the Google Forms. To create a new form click on “Blank” or, you can opt for a pre-built template. Next, add a descriptive title for the form you plan to create which will give a clear idea of the form’s utility. It is also advised to attach a short description to help your respondents get familiar with your instructions.
Step 2: Add Fields With Linear Scale
Once you have your form created you can start adding the questions. To add a new question, click on the plus sign located at the right of the bar of the selected category. Within the dropdown of the types of questions, click on “Linear scale. ” This is a useful option if you want to create questions that can be answered using a scale, most often from 1 to 5 or 1 to 10. Set the lower and the upper bounds based on the type of survey that is being conducted and the research questions that need to be answered.
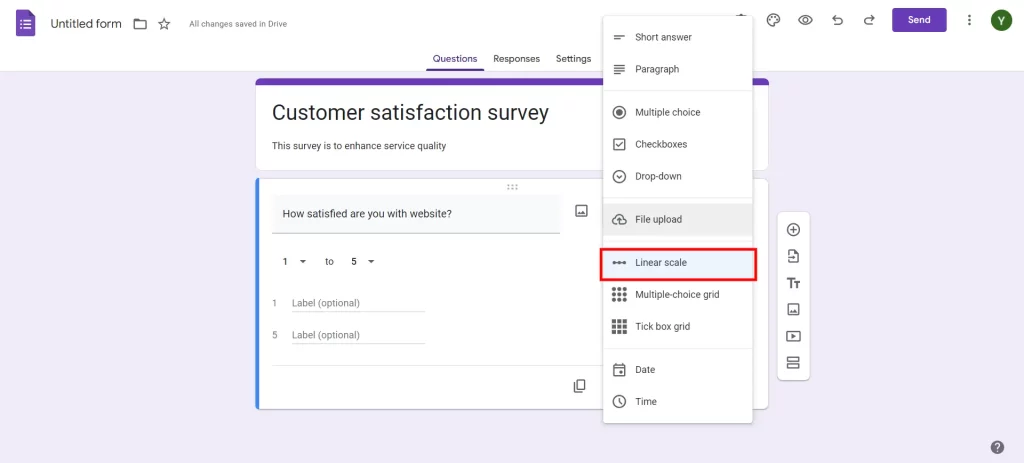
When you add linear scale, make sure to add labels to the poles. This will help your user gain a better understanding of what the scale means. For instance, you can name one pole as ‘Very dissatisfied’ and the other pole as ‘Very satisfied’.
Step 3: Customize the Form
Other than linear scale questions, you can include different types of questions such as multiple choice, check boxes, and short answer questions to collect diverse information. You can divide your form by using sections if it is long so that it is not overwhelming to complete.
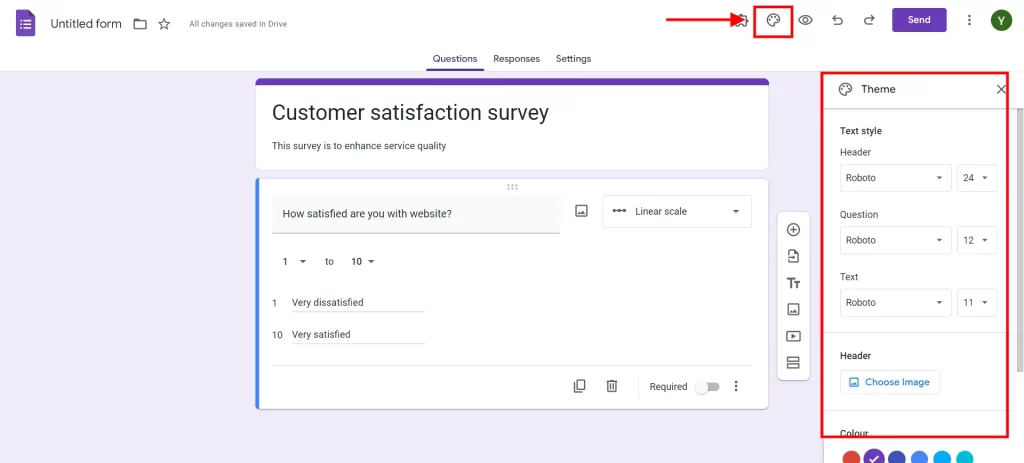
For the overall appearance of Google Forms, you can add a theme color, background color, and font style of your choice related to your branding. Adding images, videos, and texts to your form, specifically to each of the questions, will help your users better understand.
Step 4: Add Timer With ExtendedForms
If you are creating a test or voting poll, you can use the ExtendedForms add-on to add a timer. Install the extension and you can easily add the timer to your Google Forms.
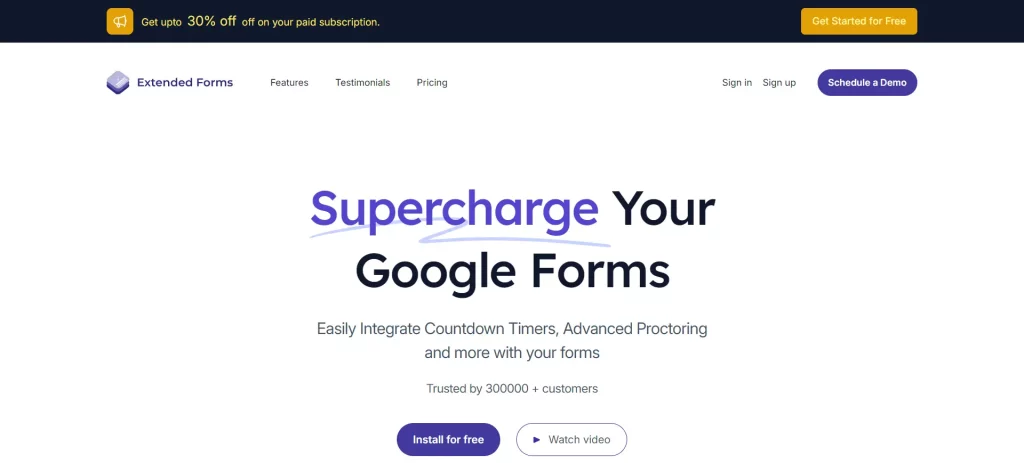
Adding a timer creates a sense of urgency while attempting the form. ExtendedForms has powerful customized timer themes that help you customize the timer of your Google Forms, elevating the overall experience.
Step 5: Preview and Share
After completing the form creation, it is recommended to preview it to verify the correctness of settings and elements. You can use the eye icon to enter the preview mode which will give you the respondent’s view of the form. Check to make sure all of the question types are functioning properly, from the linear scales to the timer.
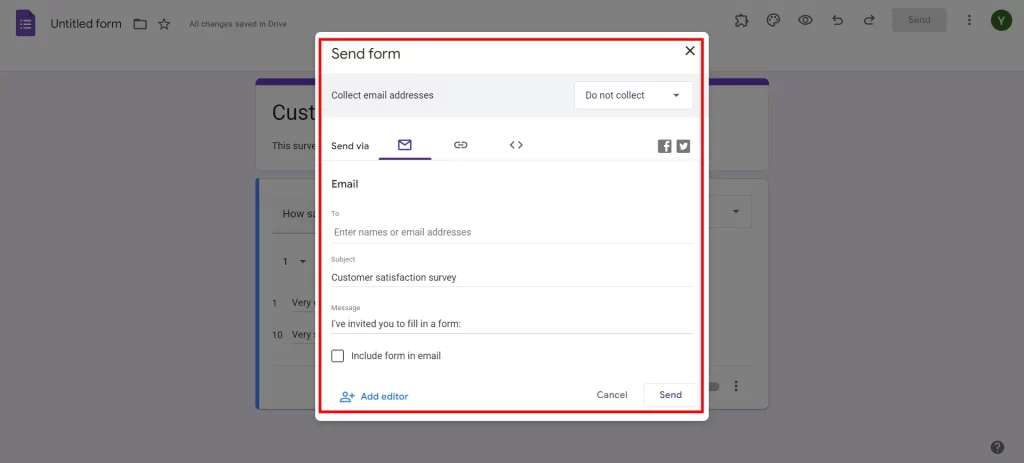
Once you preview the form, click the send button to forward it. You can share the form through mail, suggesting a link, or pasting the form on the Website.
Step 5: Analyze the Results
Once you receive the responses from your target users, it is time to analyze the results. To view a summary of the answers that were collected in Google Forms, click on the “Responses” tab. Google Forms gives you a number of graphical aids like charts and graphs through which one can view the data on the amended forms much more easily. For a further breakdown, you can export the results to the Google Sheets. This enables you to carry out simple and complex data manipulations as well as data visualization.
Why Add Timer in Google Forms?
Adding a timer to Google Forms can enhance the effectiveness and reliability of surveys, quizzes, and assessments. It encourages time management, maintains focus, and ensures a fair testing environment. Here are several key reasons to incorporate a timer in your Google Forms:
- Ensure Time Management: A timer pushes respondents to complete the form within a set period, reducing procrastination. It helps respondents manage their time effectively, ensuring they don’t spend too long on any single question.
- Maintain Focus and Engagement: A ticking clock helps keep respondents focused and reduces the likelihood of them getting distracted. It creates a sense of urgency that keeps respondents engaged throughout the entire form.
- Enhance Assessment Integrity: It ensures all respondents have the same amount of time to complete the form, providing a fair testing environment. It limits the chances for respondents to look up answers or consult with others during the timed assessment.
- Improve Data Quality: It encourages respondents to rely on their first instincts, leading to more honest and accurate answers. It ensures that all responses are given within the same timeframe, making the data more uniform and reliable for analysis.
Conclusion
Linear scales offer a structured approach to gauging responses, allowing respondents to rate items within a defined range. With Google Forms, it becomes very simple to add linear scale to your forms. Whether you’re conducting market research, gathering student feedback, or seeking insights from employees, with linear scale in Google Forms, you can streamline the process.
We hope this blog has helped you add linear scale to Google Forms. If you like reading this blog, also read our detailed guide.