
Organizing an event requires seamless coordination, from planning logistics to managing attendees. One of the most crucial aspects of event management is gathering registrations efficiently. Google Forms provides a simple, free, and highly effective tool for event registration. With its customizable features, automatic data collection, and easy sharing options, it allows event organizers to streamline their registration process without technical expertise.
In this guide, we’ll take you through the step-by-step process of creating a Google Form for event registration, ensuring that you capture all the necessary information while maintaining a user-friendly experience.
Table of Contents
Steps to Create a Google Form for Event Registration
Step 1: Create a New Form
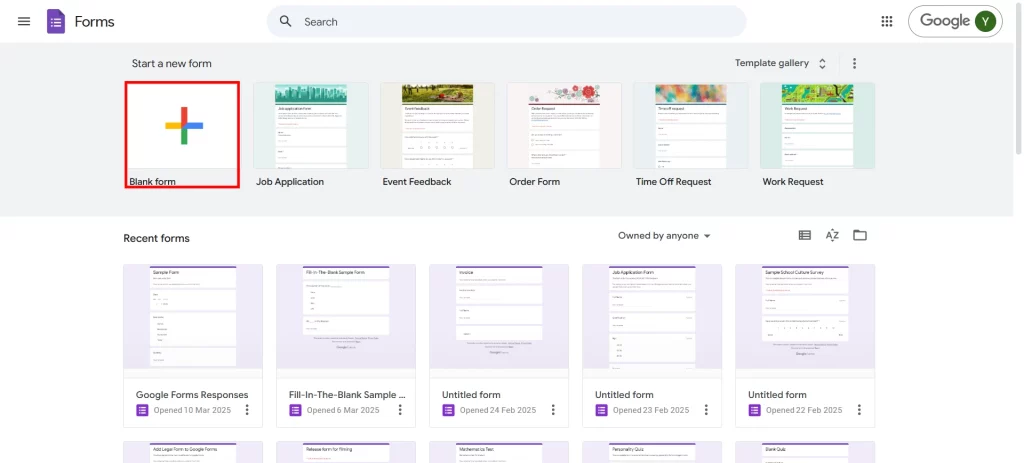
The first step in creating a Google Form for event registration is to create a new Form. To do this, go to Google Forms and click on the blank form option to start from scratch. You can also choose from pre-made templates available under the “Template Gallery” if one suits your needs. Naming the form appropriately is essential to ensure that the title clearly states the event name to avoid confusion. For example, if you’re organizing a tech conference, you might title it “Annual Function 2025: Registration Form.”
Additionally, you can add a brief description in the provided section to inform potential attendees about the event details, such as the date, time, venue, and a short overview of what they can expect. This section sets the context for your audience, making it clear why they should register.
Want to connect your forms with Google Sheets? Read, How to Connect Google Forms to Google Sheets? (Explained in 2 ways).
Step 2: Add All the Questions and Responses
Once the Google form for event registration is created, the next step is to add relevant questions to collect information from attendees. Google Forms provides various question types, including short answer, paragraph, multiple choice, checkboxes, dropdowns, and file uploads.
Start by asking for essential details like full name, email address, and phone number. These fields are crucial for communication and follow-ups. If the event has limited seats, you may also want to add a question asking attendees how they heard about the event to assess your promotional strategies.
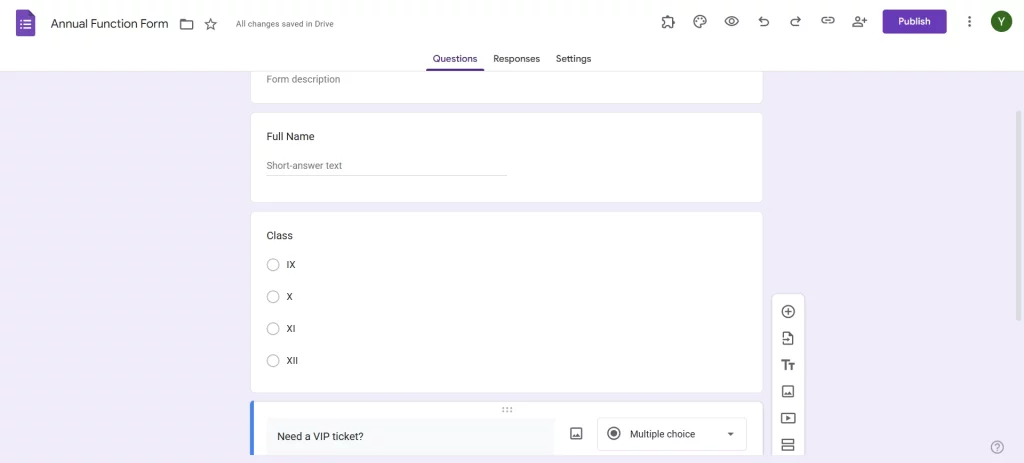
For events with different ticket categories or session tracks, use multiple-choice or dropdown questions to allow attendees to select their preferences. If you’re organizing a workshop where participants can choose among different time slots, include a section where they can indicate their preferred session.
To ensure accuracy, enable response validation where necessary. For example, you can set an email format validation to prevent typos or require a numerical response for phone numbers.
Step 3: Organize the Questions
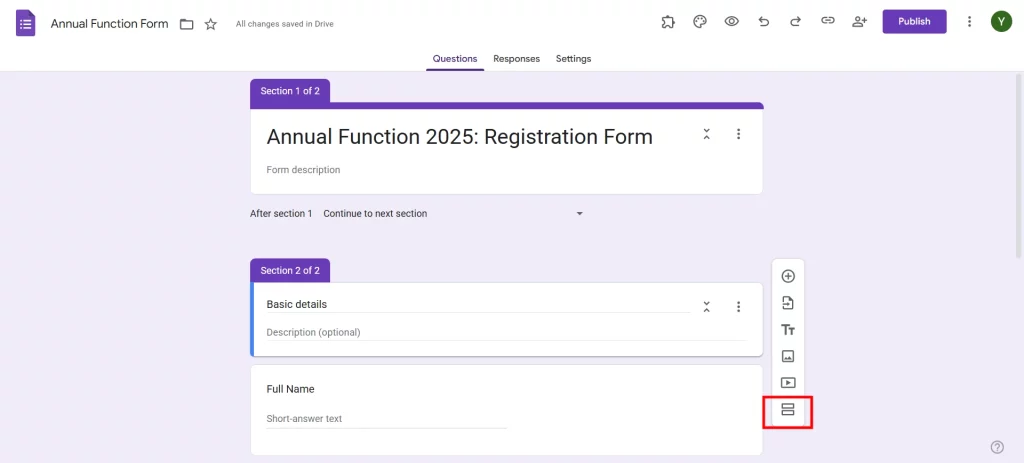
A well-structured form improves the user experience and prevents attendees from feeling overwhelmed. Consider grouping related questions together using section breaks. For example, have one section for personal information, another for ticket selection, and a third for additional details like dietary preferences or accessibility requirements.
If your event has multiple sessions, consider using conditional logic. Google Forms allows you to create logic-based questions where responses determine what the user sees next. For instance, if someone selects “VIP Ticket,” they can be directed to a section with exclusive benefits, while general attendees proceed with standard questions. This keeps the form clean and ensures that users only see the questions relevant to them.
Step 4: Customize the Form
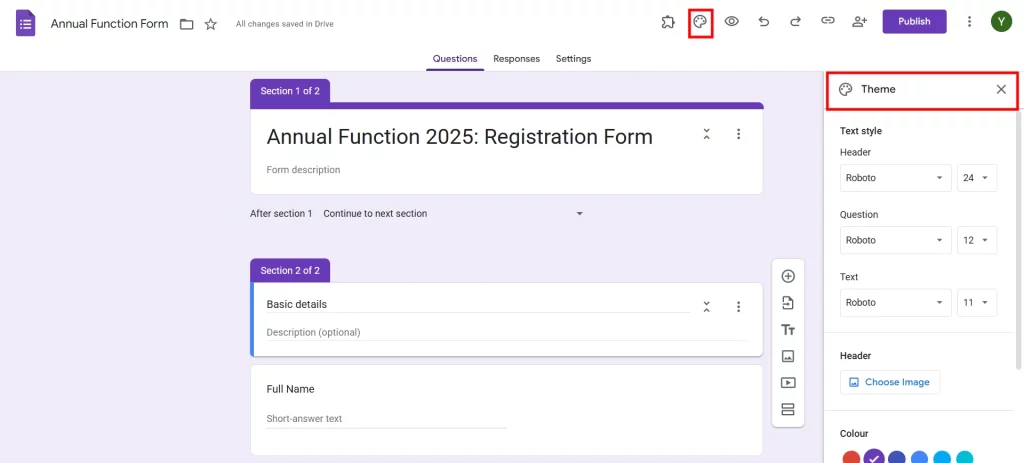
Google Forms offers several customization options to align the form’s appearance with your event’s branding. Click on the paint palette icon to change the theme color and background. You can also upload a custom header image, such as the event logo or a banner reflecting the theme of your event.
To make the form visually appealing, use clear and readable fonts, ensuring that instructions are easy to understand. You can also insert images and videos to provide additional context. For example, if you’re hosting a fundraising event, a short video explaining the cause can be embedded to engage potential attendees further.
If payments are required for registration, Google Forms does not have a built-in payment gateway, but you can add a payment link to platforms like PayPal, Razorpay, or Stripe. Simply include a section with the payment details and a link where attendees can complete their transactions before submitting the form.
Want to create an order form for your business? Read, How Do You Create a Google Forms Order Form? (4 Easy Steps)
Step 5: Preview and Share
Before sharing your Google Form for event registration, it’s essential to test it. Click on the eye icon in the top-right corner to preview how the form appears to attendees. Fill it out as if you were a registrant to ensure that the questions, logic, and required fields work correctly.
Once you’re satisfied, share the form using the provided link. You can shorten the URL using Google’s built-in link shortener for easy sharing. Alternatively, you can generate a QR code for quick access or embed the form on your event website. If you’re reaching out via email, ensure that the subject line and message clearly communicate the purpose of the form and the urgency of registration.
For broader reach, consider sharing the form on social media platforms like Facebook, LinkedIn, and Twitter, or integrating it with email marketing tools like Mailchimp. You can also enable email notifications to receive alerts when someone registers, helping you track responses in real time.
Why Use Google Forms for Event Registration?
Google Forms is one of the most efficient tools for event registration due to its ease of use, automation capabilities, and zero cost. Unlike paid event management platforms, Google Forms allows unlimited responses without requiring a subscription, making it ideal for both small-scale and large-scale events.
The real-time collaboration feature enables multiple team members to access and manage the responses simultaneously. This is particularly useful for events where different teams handle logistics, payments, and communication. The data collected is automatically stored in Google Sheets, allowing easy sorting, filtering, and analysis.
Additionally, Google Forms integrates seamlessly with other Google Workspace tools, making it easy to send automated confirmation emails using Google Sheets add-ons like Form Publisher or Autocrat. For security, you can enable CAPTCHA verification to prevent spam entries and restrict form access to specific email domains if necessary.
Considering Everything Above
Creating a Google Form for event registration is a simple yet powerful way to manage attendees effectively. By following the steps outlined above – creating a form, adding relevant questions, organizing the structure, customizing the design, and sharing it strategically – you can ensure a smooth and efficient registration process.
With Google Forms, event organizers can eliminate manual data entry, reduce errors, and provide a seamless experience for attendees. Whether you’re planning a corporate seminar, a community fundraiser, or a university workshop, leveraging this tool can significantly enhance the registration workflow.
We hope this blog has created a Google Form for event registration. If you liked reading this, also read our detailed guide on How to Add a Countdown in Google Forms? (4 Easy Steps) and How to Italicize in Google Forms (4 Easy Ways).