Is it possible to add a timer to your Google Forms? You might find yourself asking this while creating a Google Form for exams, interviews, assessments, or quizzes. The good news is, yes, it is entirely possible to create a timed test using Google Forms.
In this article, we will guide you through setting up a timer for Google Forms in four easy steps. While Google Forms doesn’t natively offer a timer or countdown feature, this can be easily achieved by installing an add-on. This add-on not only enables timed tests but also enhances the overall functionality of your forms, making them more robust for various testing scenarios. With these steps, you can ensure a fair and efficient testing process, tailored to your specific needs.
Table of Contents
Steps to Create a Timed Test With Google Forms
Step 1: Setting Up Your Form
Step 1: Create a new Google Form by visiting https://form.new URL (yes, it’s a magic URL to create a new Google Form easily).
Step 2: Add your questions to Google Forms with appropriate options and settings.
Step 3: Make sure your Google form is visible to all users. You can customize the form settings in this step.
Step 2: Installing Extended Forms Addon
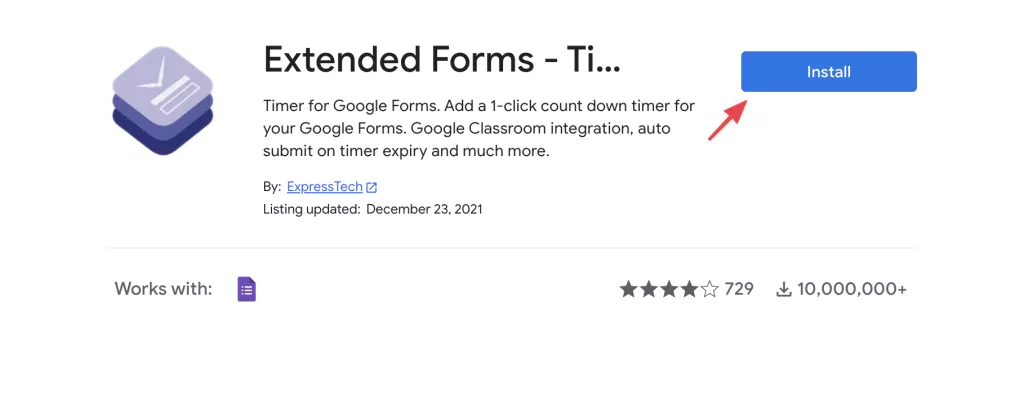
Step 1: Install Extended Forms Addon to your Google account (it’s a workspace add-on or a.k.a 3rd party app for Google Forms).
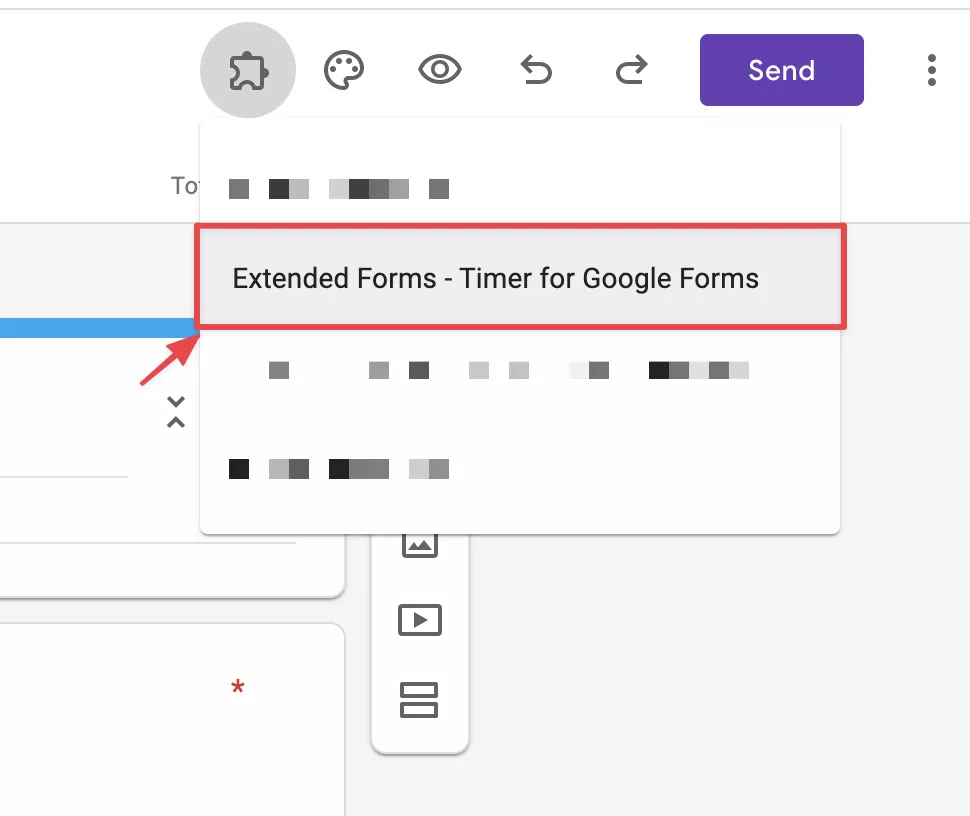
Step 2: Go back to your Google Form, and refresh the page, you’ll see a puzzle shape icon, click on it and open the settings box as shown below;
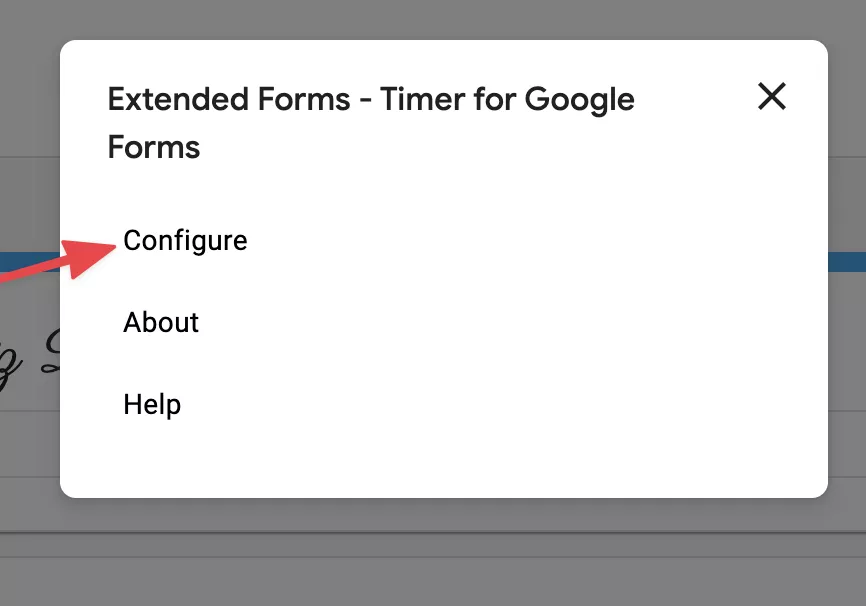
Step 3: Ensure there are no warnings (click on “Fix Settings” if you see any warnings).
Step 4: Configure the time limit of the countdown timer and the number of attempts for users.
Step 5: If you want the form to be submitted upon timer expiry, toggle the following box:
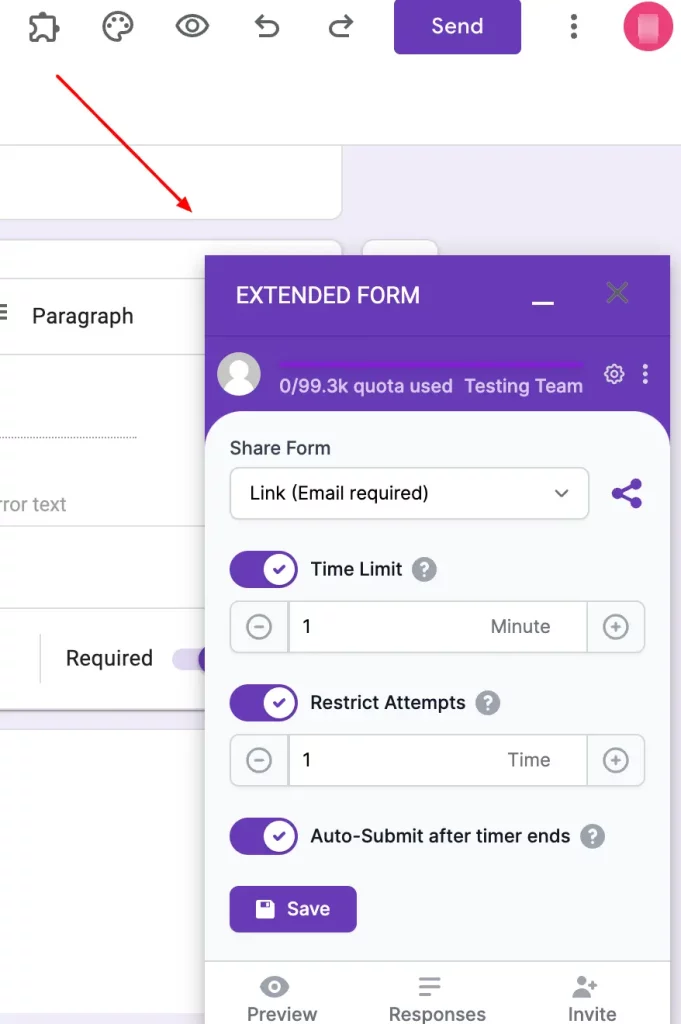
Step 6: Click Save and then the Preview button to see your timed Google form. It will show a Welcome page first, you’ll then have to get started. Once the test is started you’ll constantly see the timer above your Google forms.
Once the timer is completed, if you have enabled the auto-submit button, your quiz or timed test will be ended automatically.
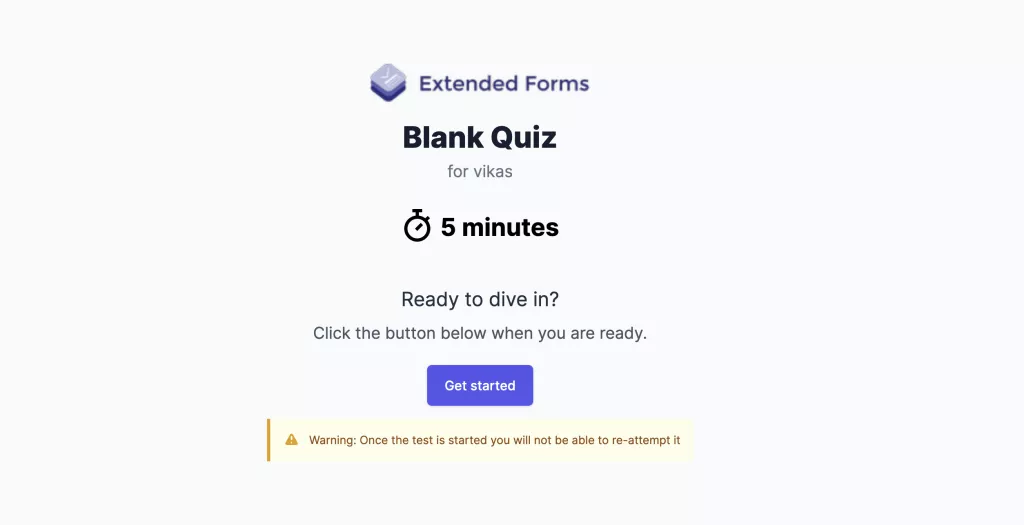
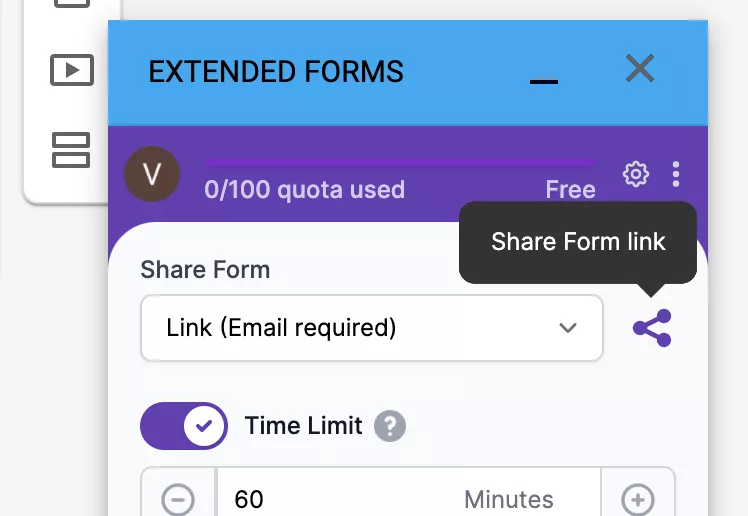
Step 7: At this point, you can copy the unique URL to your form and then share it with your users or students. You can also configure the welcome page (that too in different languages) to accept email addresses or have it work without any email address (anonymously).
Enhance security by adding CAPTCHA to Google Forms. Read, How to Add CAPTCHA to Google Forms? (4 Easy Steps) to know more.
Advantages of Extended Forms
Extended Forms addon has the following advantages over other Google timer apps.
- Hides the unique ID (used for tracking score).
- AI Proctoring that includes a camera, tab switch, and full-screen tracking
- Add custom support email for individual forms or team account
- Auto submits the form when the timer runs out (the user doesn’t need to click).
- Unique dashboard to show user’s data, export, and many other features.
- Invite team members, and customize the welcome screen and invitation message (pro features).
You are limited to 100 responses (resets every month) in a Free account.
Conclusion
So, for creating your quiz-based or timed test Google form, you can install the Extended Forms add-on, configure the timer, or even set deadlines to access Forms, and then share the test URL to send it to your users, you have learned how to create a timed test for Google Forms.
ExtendedForms is a hassle-free, easy-to-configure app that can be used by anyone from beginners to advanced users, whether you are an educator, HR, part of an organization or whoever requires a timer while creating Google Forms, then do check out the ExtendedForms app.
You get the main features as part of the free plan and there are more features that are part of the pro plan that you can go check from the website.
We hope this blog has helped you create a timed test in Google Forms. If you like reading this, also consider reading our detailed guide on Creating Business Forms Using Google Forms (7 Simple Steps) and How to Add a Hyperlink to Google Forms. (7 Simple Steps).
