Looking for an easy way to add correct answers to Google Forms?
Google Forms is one of the most versatile tools for creating surveys, quizzes, and feedback forms. But did you know you can take it a step further by adding correct answers to make it a self-grading quiz? Whether you’re a teacher creating assessments, a team leader building training materials, or a student organizing peer quizzes, this feature can save hours of manual effort.
Here, in this blog, we will take you through a detailed guide to how you can add correct answers to Google Forms.
Table of Contents
How to Add Correct Answers to Google Forms
Step 1: Create a New Google Form and Name It
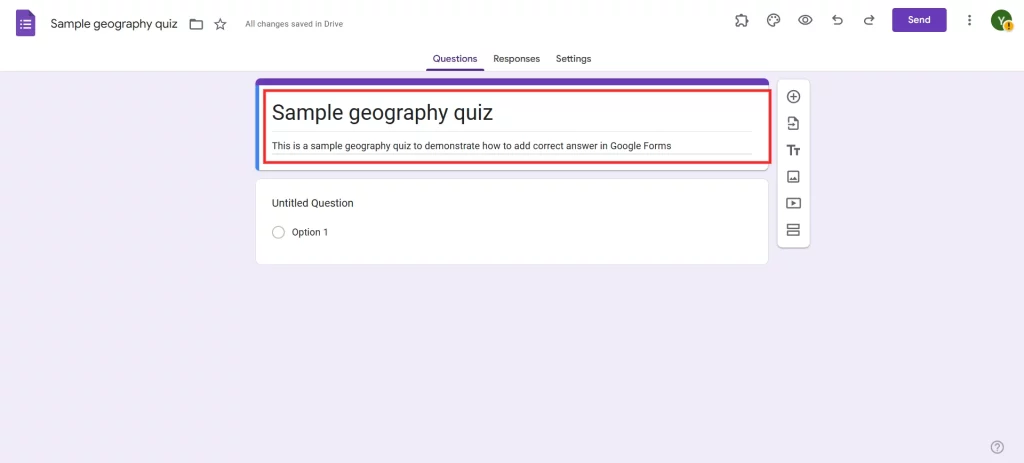
The very first step to create a new Google Form is to go to the Google Forms website and start creating a new form. Start by giving your form a meaningful title and description. For instance, if you’re creating a quiz on World Geography, name your form accordingly and add a short description to explain its purpose.
Want to connect your forms with Google Sheets? Read, How to Connect Google Forms to Google Sheets? (Explained in 2 ways).
Step 2: Add Questions to Your Google Forms
Click on the “+” icon to add questions. Google Forms offers several question types like multiple choice, checkboxes, and dropdowns. Choose the format that best fits your quiz. For each question, write clear and concise text to avoid confusion among respondents.
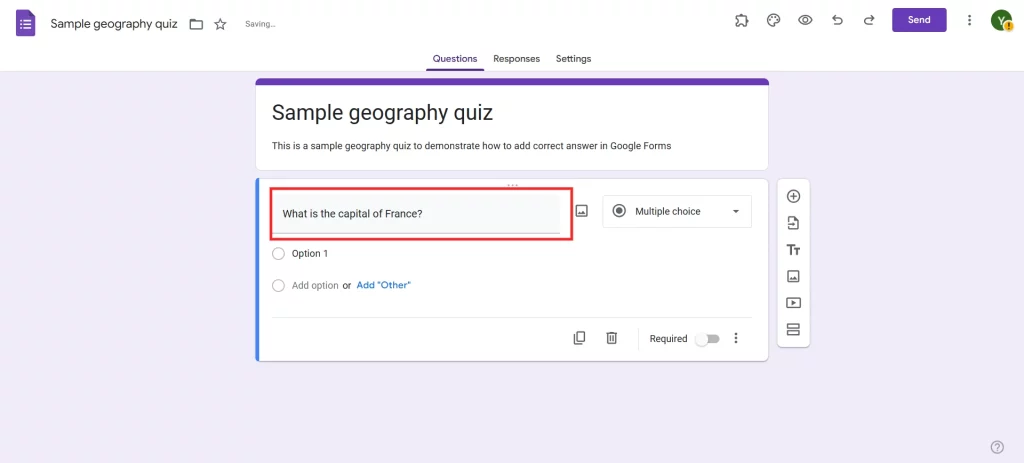
For example, a geography quiz might include a multiple-choice question. Use images or videos if they enhance the question’s clarity or engagement.
Step 3: Add Answer Key
Now comes the magic part—adding the correct answers to Google Forms. To do this, click on the question you’ve just created and select the “Answer Key” option at the bottom. Here, you can:
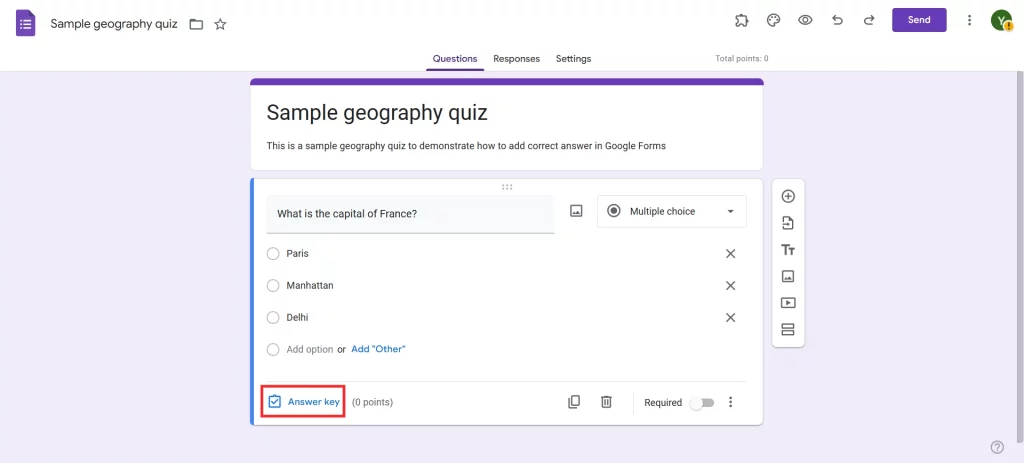
- Select the correct answer(s) for multiple-choice or checkbox questions.
- Assign points to each question for grading purposes. For instance, you might allocate 2 points for simpler questions and 5 points for more challenging ones.
This step ensures that Google Forms will automatically grade responses based on the answers provided.
Step 4: Add a Feedback Message for Correct and Incorrect Answers
Feedback messages can make quizzes more interactive and informative. After setting the correct answer, click on the “Add Answer Feedback” option. Here, you can:
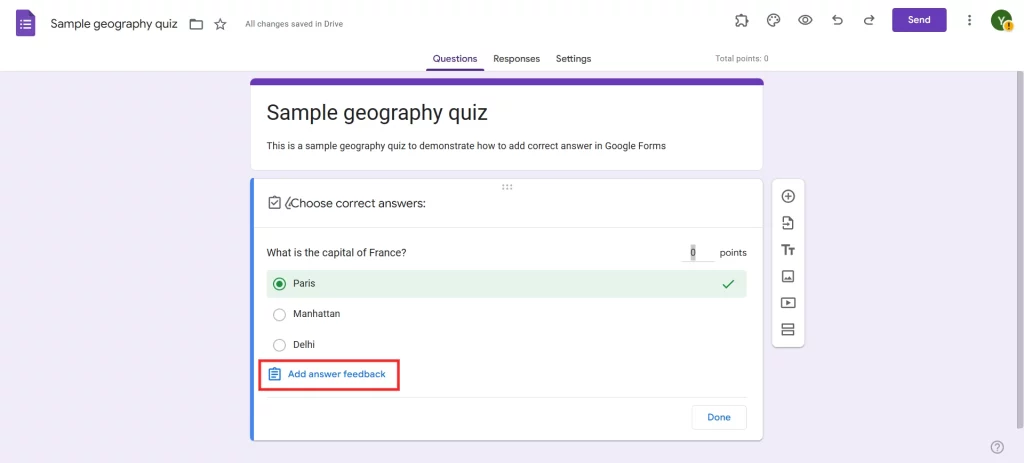
- Provide a custom message for correct answers (e.g., “Great job! Paris is indeed the capital of France.”).
- Offer additional learning points for incorrect answers (e.g., “Incorrect! The correct answer is Paris. Don’t confuse it with Berlin, the capital of Germany.”).
Adding feedback not only makes the form more engaging but also turns it into a learning tool.
Want to create an order form for your business? Read, How Do You Create a Google Forms Order Form? (4 Easy Steps)
Step 5: Add All the Questions
Continue adding all your questions following the steps above. Make sure to review each question to ensure accuracy and clarity. To keep your quiz organized:
- Group similar questions into sections using the “Add Section” feature.
- Use the “Duplicate” option for repeating similar question formats, which saves time.
By the end of this step, your form should be complete with all questions, answers, and feedback in place.
Step 6: Preview and Share
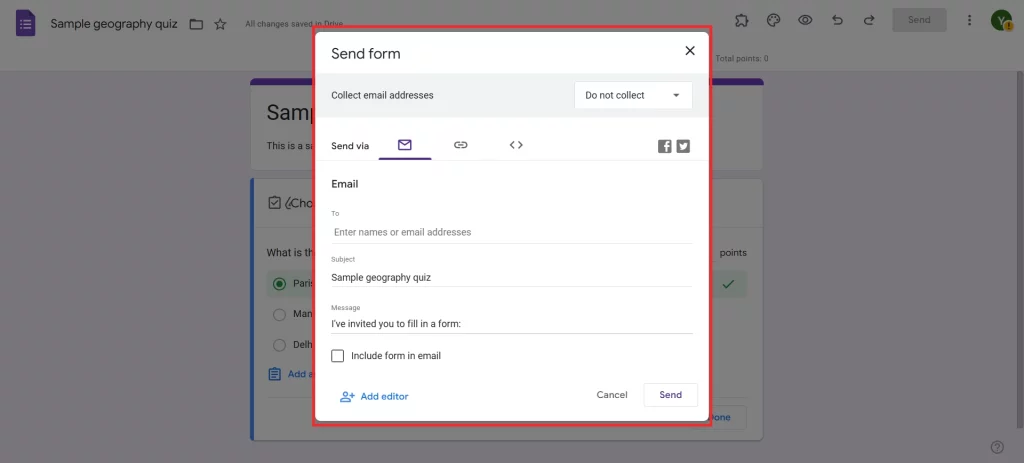
Before sharing your form, always preview it. Click on the eye icon in the top-right corner to see how it will appear to respondents. This helps you identify any formatting errors or inconsistencies. Once satisfied, click the “Send” button. You can share the form via email, or link, or embed it on your website. To track responses effectively, ensure that the “Collect email addresses” option is enabled.
Pro Tip: Create Timer-Based Google Forms With Extendedforms
Want to add a timer to your quizzes? ExtendedForms, an add-on for Google Forms, lets you set a countdown timer and proctoring options. This is particularly useful for timed tests or competitive quizzes.
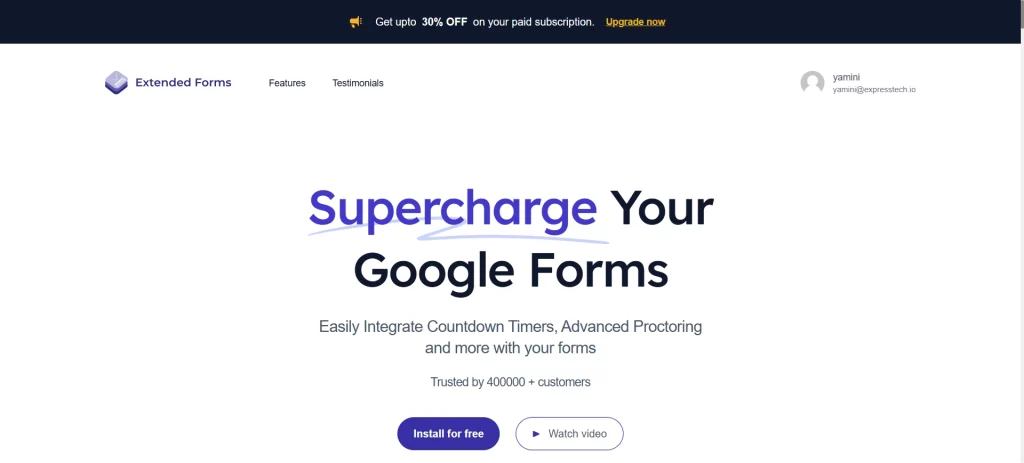
To use this feature:
- Go to the “Add-ons” menu in Google Forms and install ExtendedForms.
- Open the add-on and configure the timer settings based on your requirements.
- Share the timed form with participants, knowing that submissions will automatically close once the timer runs out.
This addon ensures a fair and controlled testing environment.
In Conclusion
Adding correct answers to Google Forms is a game-changer for anyone looking to automate grading and provide instant feedback. By following these six easy steps, you can create an efficient and engaging quiz or test that saves time and enhances learning. Plus, tools like ExtendedForms elevate your forms with advanced features like timers, making them even more versatile.
Ready to take your Google Forms to the next level? Start creating smarter, self-grading quizzes today and let technology handle the heavy lifting!
We hope this blog has helped you add correct answers to Google Forms. If you liked reading this, also read our detailed guide on How to Add a Countdown in Google Forms? (4 Easy Steps) and How to Italicize in Google Forms (4 Easy Ways).
