When scheduling an appointment with a client or customer, it’s easier to let them choose an available slot or book an appointment online. Rather than, going back & forth with all endless emails to try to find a slot that works for everyone. It is easy and effective to accomplish this by setting up google forms for appointments.
Online booking is powerful, it makes the scheduling process easier on your team, and customer, and impacts your budget. So, what is online booking? Come down to it, it is a digital solution to allow customers to schedule an appointment online.
It seems easy on the surface, but the benefits of an online appointment system run deep. In this article, we’ll discuss the steps to use Google Forms for appointments and the benefits of having an online booking.
Table of Contents
Benefits of Online Scheduling Forms
Creating online booking forms comes with its own benefits and here are some of the benefits of using an appointment system.
- Provide/Improve customer online appointment scheduling journey. The appointment booking form gives your customers an easy way to interact with you on their terms.
- Appointments increase your conversions & revenues. An easy-to-use booking system converts more leads and has a higher probability of turning into revenues. Online appointment systems have a way to contribute to business growth because it’s easy to fill out a form and get into CRM. This makes it easier to gain new clients, their purchase history, and other data to be inputted.
- Appointment scheduling increases employee productivity. Having online appointment scheduling software or even using Google Forms for appointments saves employees a tremendous amount of time. It takes the pressure of trying to schedule & reschedule appointments. They can spend their time working on more productive things.

How to use Google Forms for Appointments
There are a few steps you need to follow to prepare Google Forms for appointments for scheduling, including using some add-ons. You may or may not install add-ons, but for more functionality, it’s better to add the add-ons. Let’s right get into it.
1. Create Google Forms
The first step always is to create your form and set it up for any of your purposes. And here, we are creating Google forms for appointments.
- To start with, go to the Google Forms website or visit it via G-drive. Select a blank form and start everything from scratch.
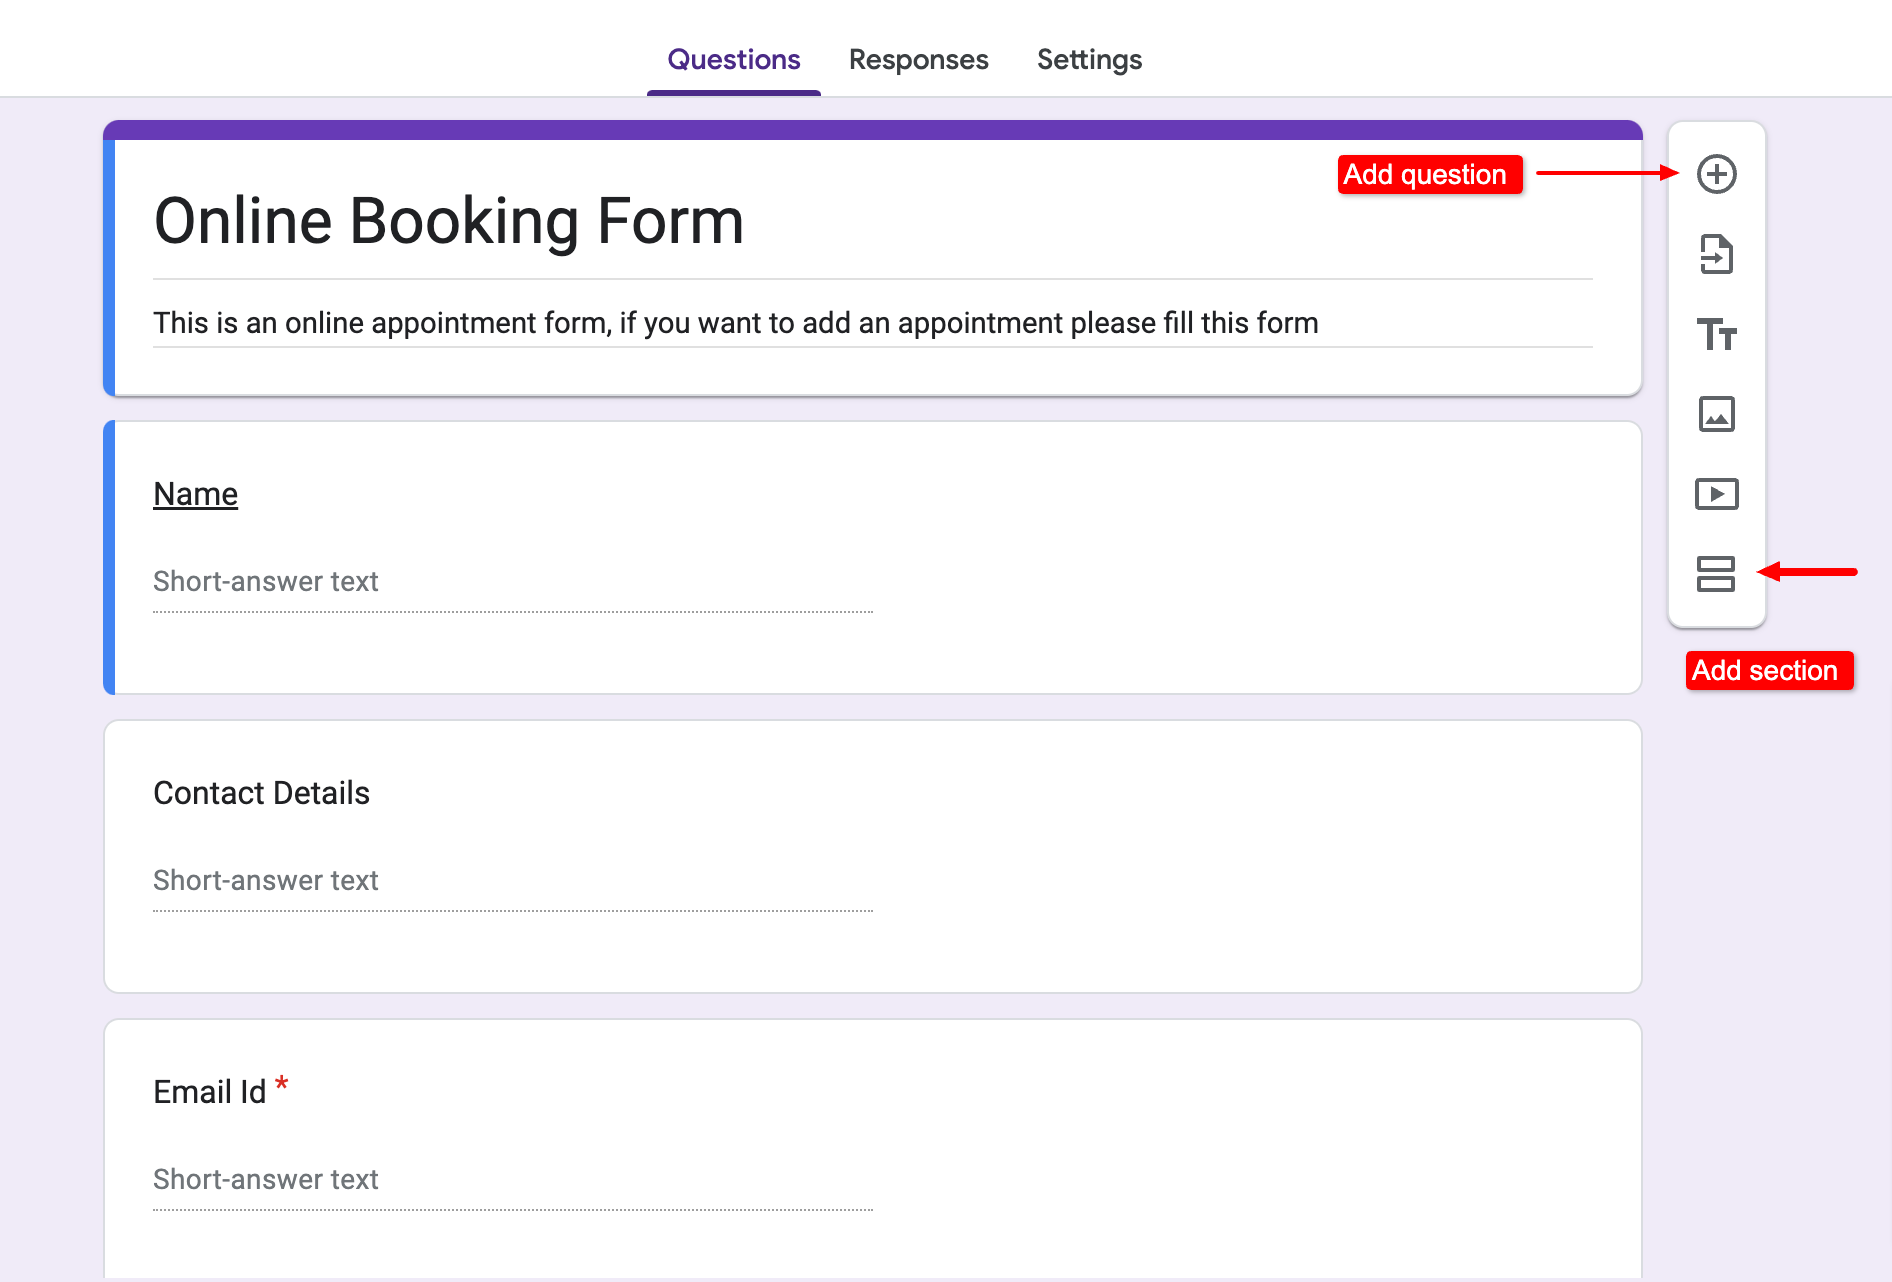
- Then title your form, and give it a relevant name so that people know what they are signing up for. Besides, you can add extra information/detail in the ‘form description.’
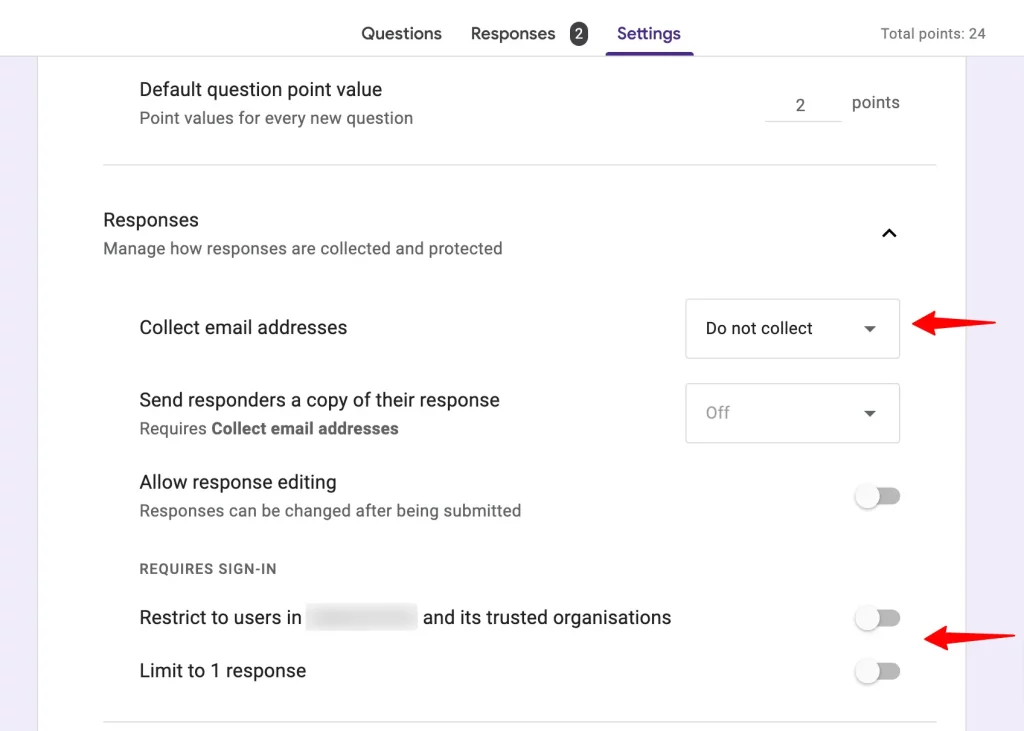
- Next to configure settings go to the ‘Settings’ tab at the top navigation bar, from there you can configure all the main settings. Like, under the ‘Responses’ option, enable the ‘Collect email addresses’ option because they are needed for further communication.
- Then, you can enable the ‘limit to 1 response’ option as well. Under the ‘Presentation’ option you can edit the ‘confirmation message which will be seen after submitting the form.
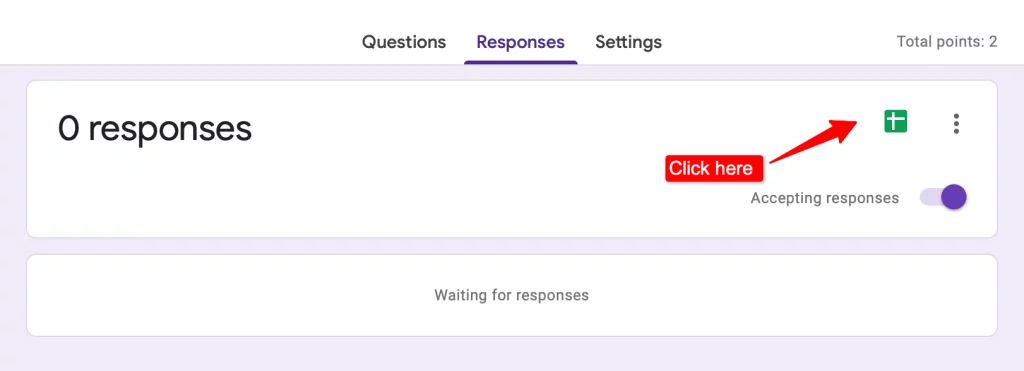
- Besides, you can connect google forms with sheets by navigating to the ‘Responses’ tab at the top and clicking on the ‘Sheet’ icon.
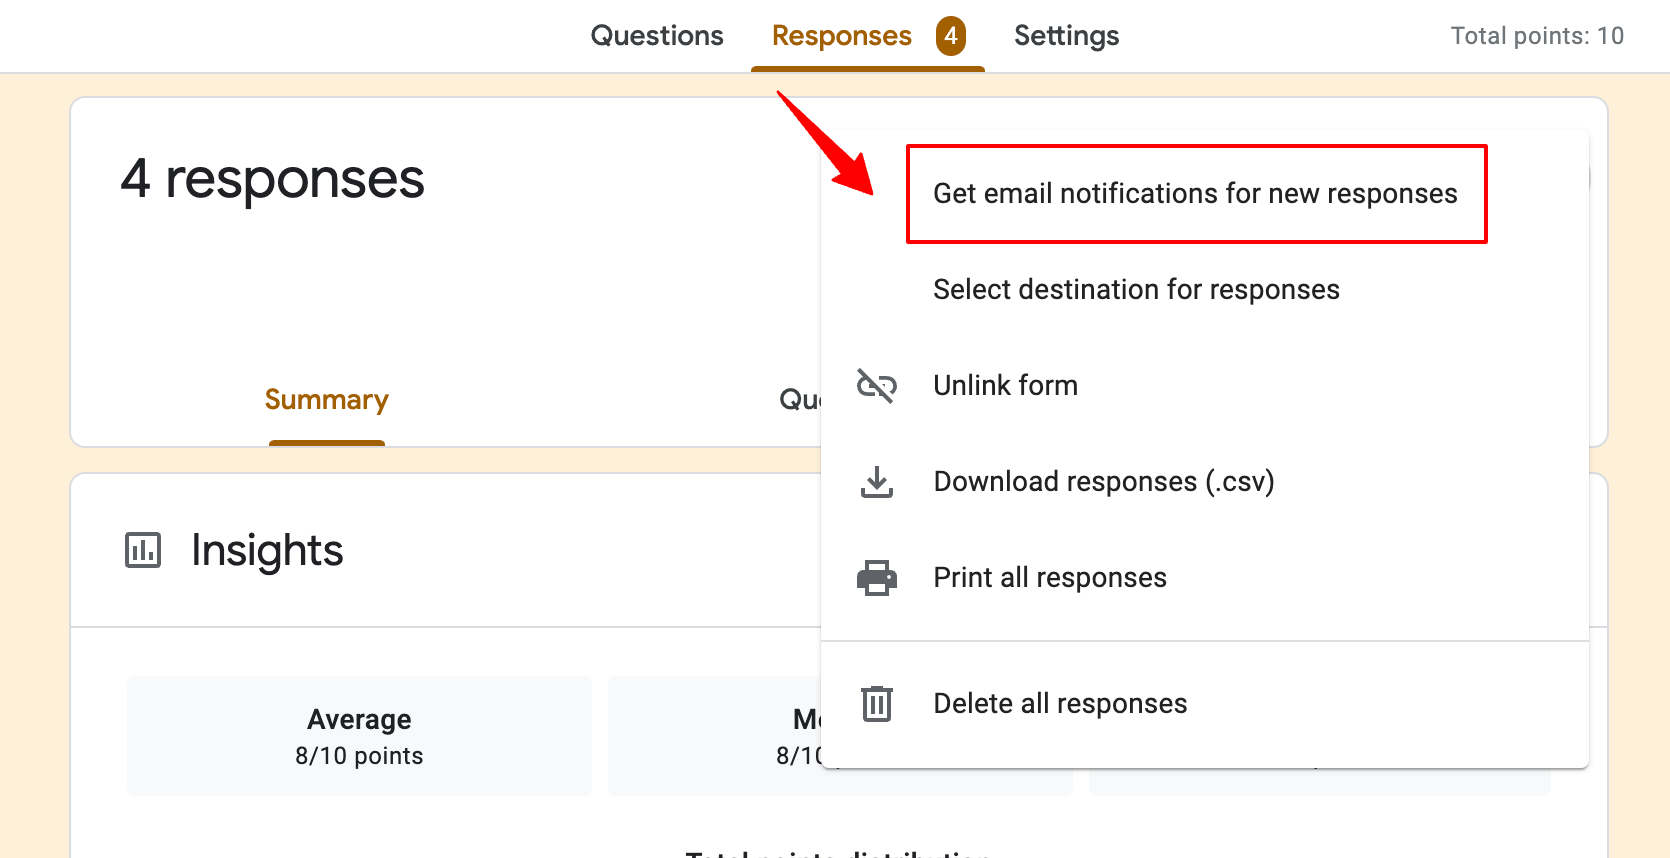
- You can also enable email notifications for every response, go to the three dots in the ‘Responses’ tab and click on email notification for new responses’ option.
2. Set up the Scheduling Fields
Once, you’ve followed the first step, the next is to set up your booking form.
- Below the title you’ll see the first section of the form, click ‘question’ to add questions. You can create various sections for different days, time slots, or services (as you wish). For example, if you’re offering services every day then – Monday, and Tuesday as different sections, and add various questions per section.
- To create a section, click on the ‘Add Section’ from the small options box beside the question box.
- Then, add questions and choose response type, mostly choose multiple-choice, checkboxes, or dropdown questions. You can also choose the date & time option where respondents can add the time or date they prefer.
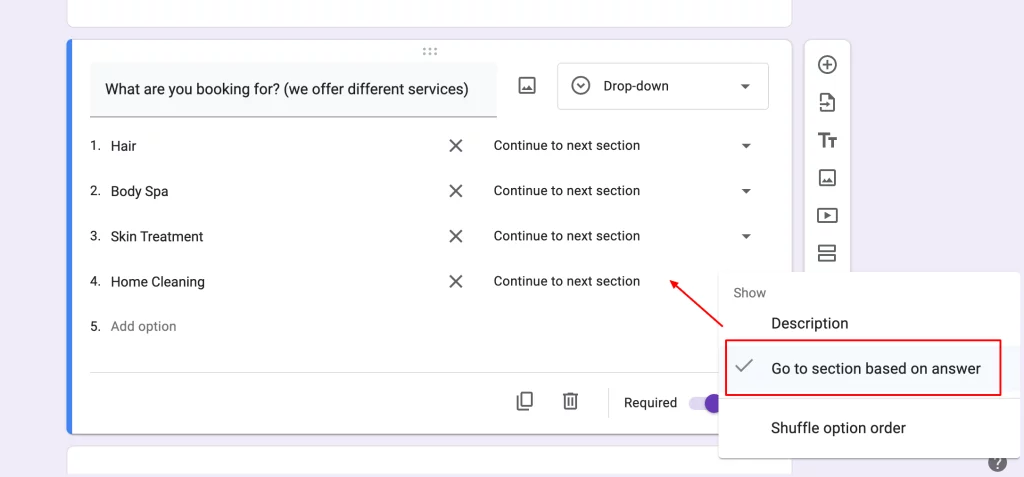
- Under the ‘date’ option, you get to choose to include time and/or year and for the ‘time’ option you get to choose time or duration. You can also add ‘conditional logic’ for multiple-choice and dropdown options.
- Click on the ‘three-dots’ at the bottom of the question box and click on ‘Go to section based on the answer.’ Direct them to a specific question tab/time slot depending on your choice.
- You can add such questions in Google Forms for appointments –
- Contact Details & address
- On what day do you need service?
- What time slot will you be available?
- What are you booking for? (If you are a brand that provides different services)
- Select service category (if your service has different categories, like hair service categories including, haircut, coloring, treatment, etc.)
3. Eliminate Choices/ Choice Limit to your time slots
So, this step is an extra step in the Google Forms for appointments tutorial. This step just advances your book appointment with Google Forms.
So, if you want to be able to block out time slots that a client has already selected. Then download an add-on for Google Forms, there are many choice limit apps, but we are specifically talking about – the Choice Eliminator app.
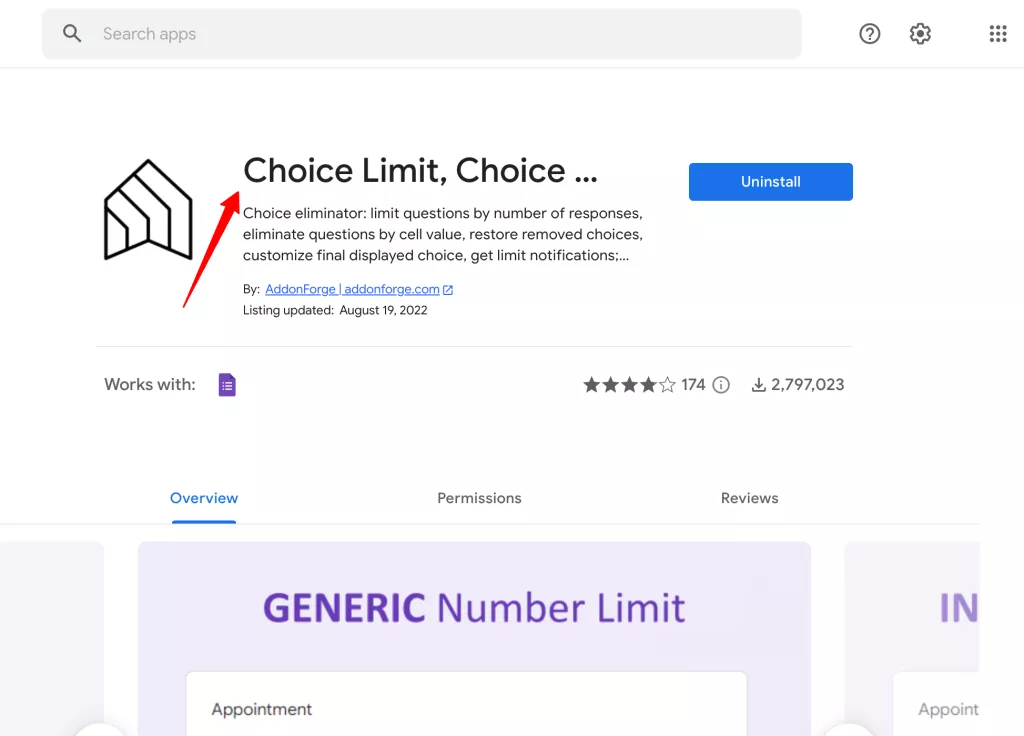
- Install the app, go to the More > Add-ons option, type Choice Limit app, and download the add-on.
- Integrate the app into your form using the puzzle shape icon at the top of the form, then click on Start to complete the setting up of the add-on for Google Forms for appointments.
Note: The Choice Limit option is only limited to question types – multiple choice, checkboxes, and dropdown.
- The Choice Limit window will be opened at the side, you’ll see the option of ‘number and value limit’ for a question. Under “number limit,” you can set limits to choices on a generic or individual basis. In ‘generic limit’ you can eliminate each choice after the limit you’ve set. However, in ‘individual limit’ you can set different limits for each option of a question.

- For “value limit” a response Google sheet needs to be linked with the Form.
4. Send out the Appointment Request Form
Once you’ve set up your Google forms for appointments, your form is ready to be sent out.
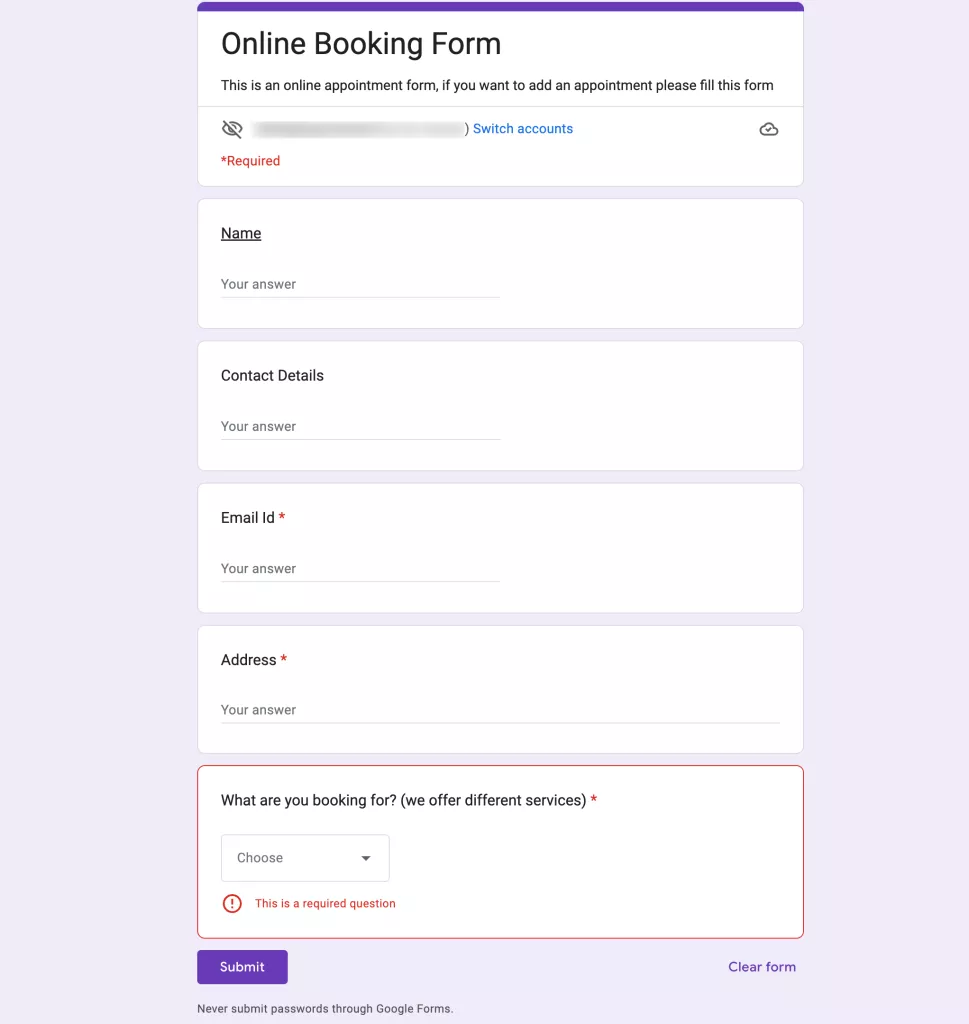
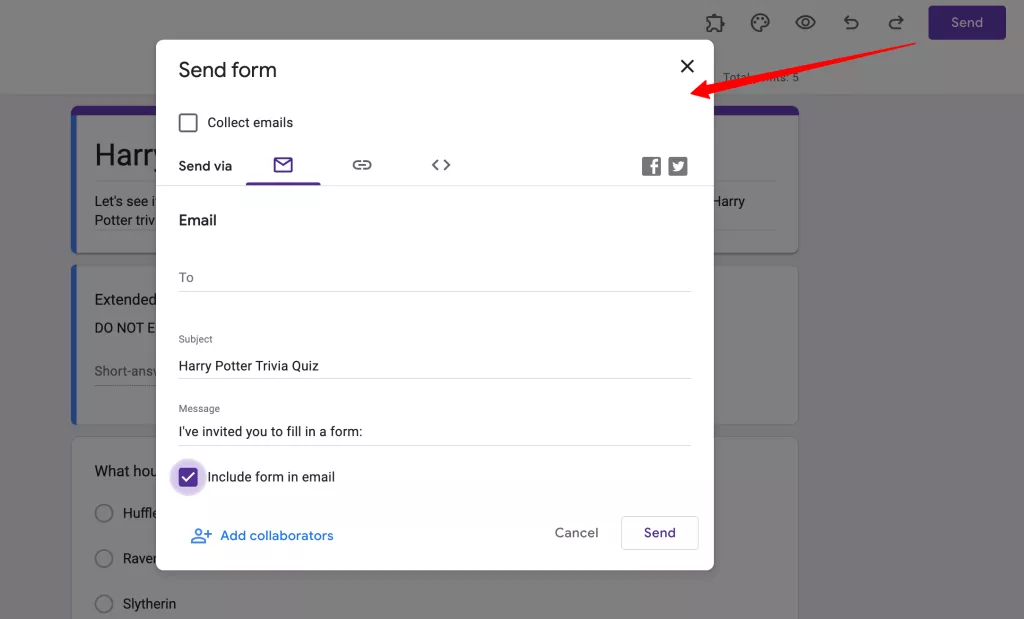
- Before sending a google form, first preview the form, and click on the ‘eye icon’ to do so.
- Then click on the ‘Send’ button and share it via email, link, or embed HTML.
Alternate Way (bonus step)
Another way to use Google Forms for appointments is how any appointment form system works is by booking online forms and adding them as an event in the calendar. You can either get all responses and add them manually to your calendar as a reminder or you can use this alternative way.
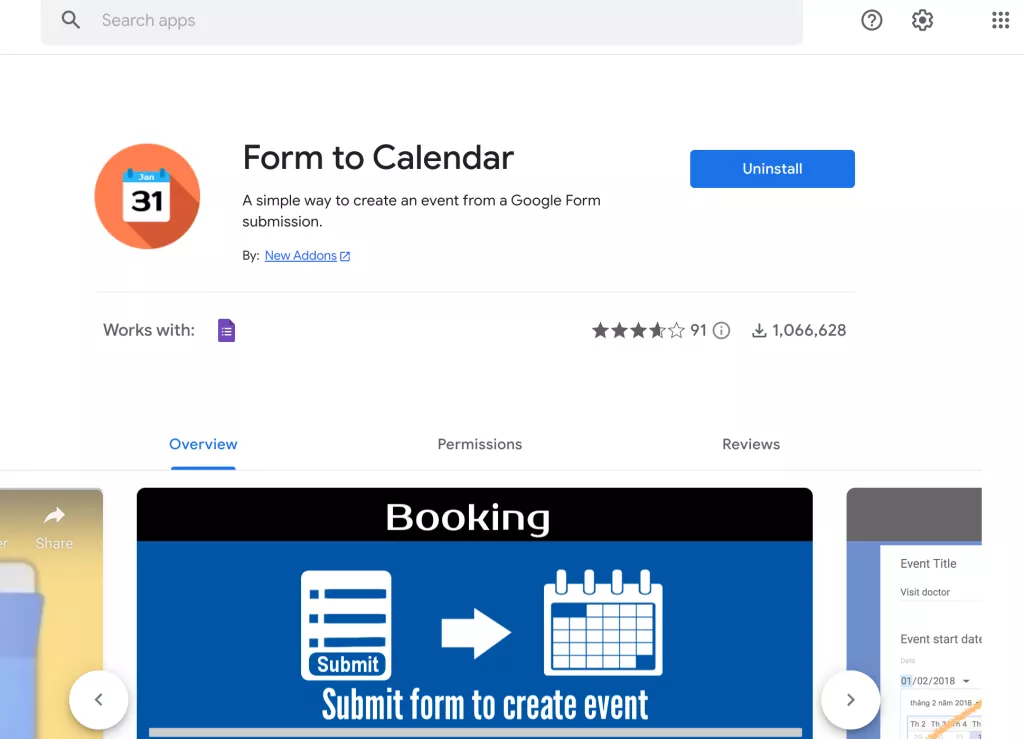
The process is the same, however, before sending it install another add-on for Google Forms that lets you create an event from a Google Form submission. There are a few add-ons for the same, but here for reference, you can install the Form to Calendar add-on.
Then set up the app in your form, click on the puzzle shape icon, and click on ‘Connect to calendar.’ Click on the ‘connect’ option in the dialogue box that opened. Your form will be connected, once you or anyone fills out the form, it will turn into an event in the calendar.
ExtendedForms: Enhancing Google Forms Functionality
We have another add-on for you to increase the functionality of Google Forms. And it is one of the important features to add to your form especially if you use forms for tests or quizzes. It is none other than – timer and proctor functionality and the best add-on for the countdown timer and more features is the ExtendedForms app.
ExtendedForms app is a countdown timer and proctor app that integrates a timer feature in Google Forms quickly. And also lets you set deadlines (start & end timeline), and add proctoring and negative marking.
It has a hassle-free configuration that lets you easily connect a timer to your form, auto-submit your form, and so much more. Moreover, the app provides ‘brand customization’ feature that allows you to customize your brand.
Apart from that, you can export form responses, shorten & custom URLs, and add custom invitation messages, and welcome messages (before the start of the exam). ExtendedForms is a perfect alternative to any other timer Google apps. You can try the free version and know it for yourself.
Frequently Asked Questions
Can I use Google Forms to schedule appointments?
Yes, you can use Google Forms for appointments. It is a very simple way to use Google Forms to start this online appointment game. Besides, you can install an add-on that helps you eliminate time slots or choices that are already selected by a client/customer.
Does Google have a booking system?
In order to help your customers/clients book services, create online booking pages in Google Calendar with Google Workspace individual. Besides, Google has another tool with the help of which you can create online appointment schedules and that is Google Form. It is a very quick and easy way to create an appointment form and share it with your customers/clients.
Can a Google Form populate a calendar?
You can for sure populate a calendar with events using Google Forms. Manually you can add reminders or in calendars as events through all the data collected. However, with the help of the Google Forms add-on, you can automatically save responses as calendar events. You can check out this article to get a clear idea.
Wrap Up
Providing an online appointment form is a major advantage, it has the capacity to grow your business and keep your customers/clients happy. Hence, in this post, we have discussed in very few steps how you can use Google Forms for appointments.
It is a very simple and quick way to do it, especially if you are a small business/startup or someone who has to singlehandedly do all tasks.