Have you ever needed to gather information and feedback from a group of people quickly and effectively? That is where the voting poll in Google Forms comes into the picture.
Google Forms offers a powerful solution to simplify the process of creating polls, gathering data, and analyzing feedback. With its easy-to-use interface and extensive features, you can effortlessly design tailored polls.
Additionally, with the integration of ExtendedForms – A powerful timer addon in Google Forms, you can elevate the integrity and efficiency of your polls.
Here, in this guide, we will take you through a detailed guide on how you can create a voting poll in Google Forms.
Steps To Create A Voting Poll In Google Forms
Step 1: Create A New Form
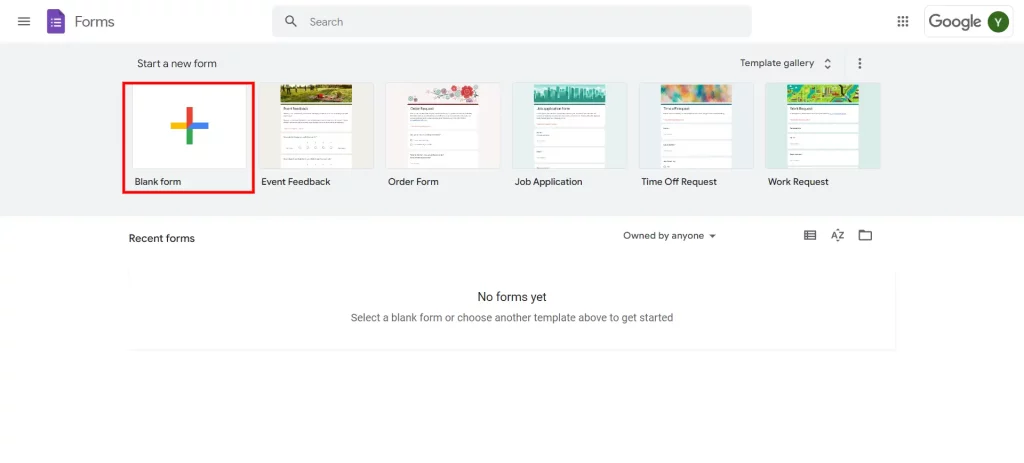
The very first step to creating a voting poll in Google Forms is to create a new form. Once you are logged into Google Forms, click on the ‘+’ icon to create a new form from scratch.
Next, you need to give a title to your form. Make sure the title is catchy and embodies the main theme of the form. Google Forms also offers a description bar where you can add a summary of your poll. This will help them understand why the poll has been sent and identify the purpose of it.
Looking for an easy way to allow multiple domains for form sharing with an organization? Read How to Allow Multiple Domains for Form Sharing With an Organization?
Step 2: Add Poll Questions And Response Options
Add Poll Questions And Responses
Once done with creating a new form, now you will need to add poll questions. Make sure all your questions are clear and relevant. Google Forms offers various types ranging from short answers, paragraphs, linear scale, multiple grids, and more.
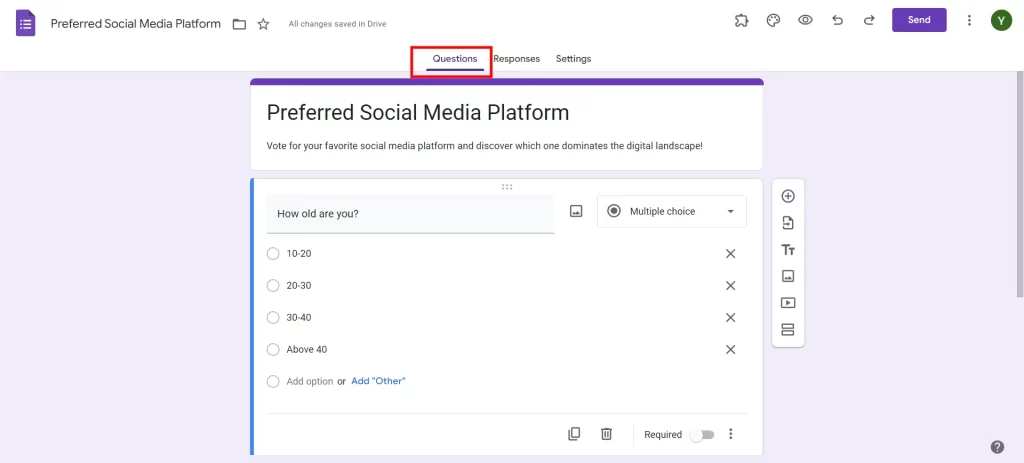
Now that you have selected the particular question type, feed the response options for the voting poll in Google Forms. Providing preset response options will help you in the easy tracking and managing of your poll. Just like how people don’t want to answer too many questions, they don’t want to scroll through a bunch of answer options either. So, limit the number of answers as well.
Customize Poll Questions And Responses
You can see a lot of buttons around your questions box. This helps you extensively customize each question individually.
- Add Image: With an image icon just after the question bar, lets you add images to your questions. This will enhance the descriptive quality of your poll.
- Add question: Add a new question from scratch.
- Import questions: Import questions from other Google Forms. This includes importing questions from your previous forms, forms from your Google Drive, and forms that are shared with you.
- Add title and description: The title will be displayed on the questions. This helps users provide context for what the question is about and what respondents should expect.
- Add video: Improve the visual enhancements by adding videos to your poll.
- Create sections: Consider adding sections to longer polls as it gets overwhelming for users to see too many questions listed on one page.
- Required: By turning the button on, make the question mandatory for users to respond.
- Duplicate: Once done with curating one question in your Google Forms, you can duplicate it multiple times and change the data. This will ensure consistency and streamline the poll creation option.
- Delete: Remove the question you no longer need.
Adjust these settings as per your preference and move ahead with creating a voting poll in Google Forms.
Want to create business forms in Google Forms? Read, Creating Business Forms Using Google Forms (7 Simple Steps)
Step 3: Customize The Form
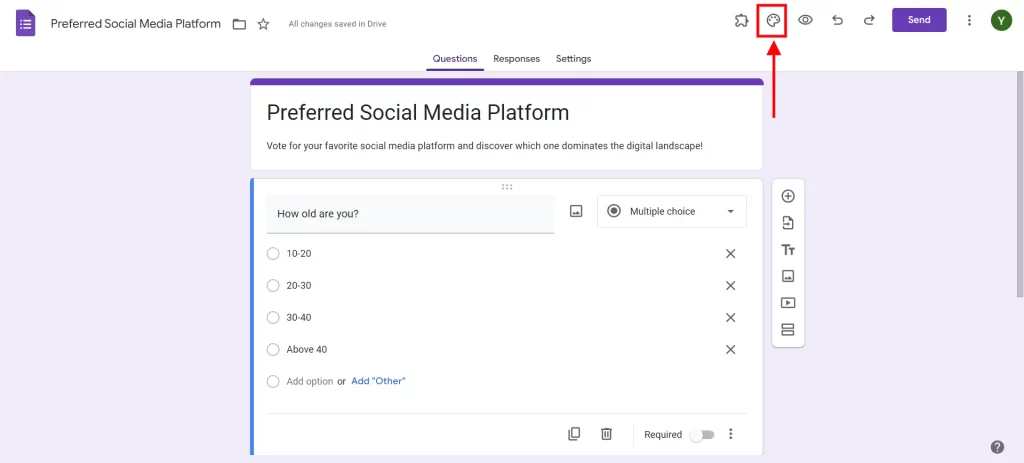
On the top right side, you will see a palette icon. This will help you adjust the appearance of your voting poll in Google Forms. It assists you with different customization like:
- Text style: Adjust the font size and font height of headers, questions, and texts.
- Header: Add images to the header of your Google Forms
- Color: Various presets and customizable color options to match the poll with your branding.
- Background: Offers 4 background colors relating to the primary color you select.
Step 4: Adjust Settings
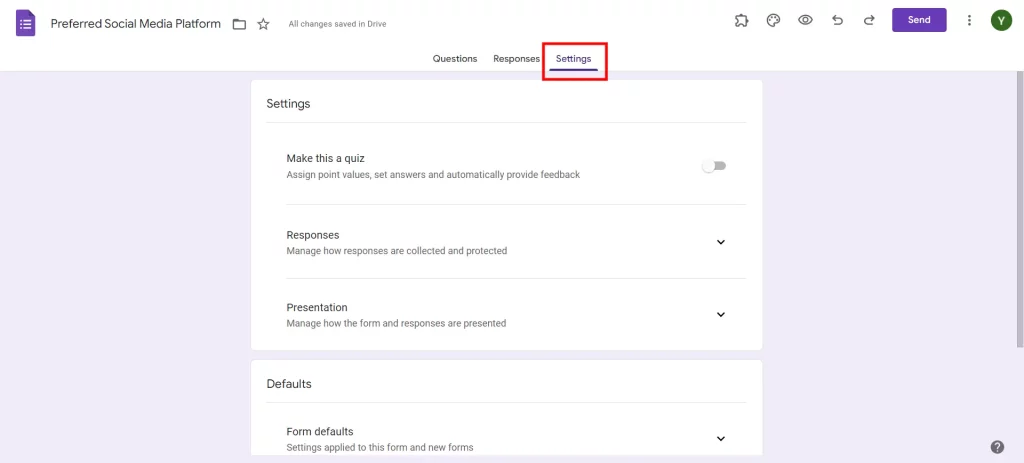
Under the settings, you can see three major settings options:
- Make a quiz: To make your form a quiz, enable this option. It has various quiz-related settings like missed questions, point values, default point values, and more.
- Response settings: Manage how you collect your responses and feedback. This helps you collect the email address of your users and send them a copy of their responses. If you wish your users to allow repurpose editing, turn on the button and limit the number of sign-ins to limit the number of attempts.
- Presentation: Manage how the forms and responses are presented to your users. You can show them the progress bar, shuffle questions and manage the after-submission settings.
Step 5: Customize The Form With Extendedforms
ExtendedForms is a must-have Google Forms timer extension. The app is easy to configure and doesn’t need any user manual to go through ‘how to use the app’. Adding a timer to your Google Forms helps you improve the fairness and efficiency of assessments and activities.
Key Features:
- Countdown Timer: The Countdown Timer feature makes Google Forms more efficient by adding time constraints for assessments and time-sensitive activities. It imposes a time frame on the respondents and makes them feel more target-oriented and determined. Customizable timers cater to various needs and ensure fairness.
- Proctor Settings: Proctor Settings in Google Forms make polls more secure. Full-screen monitoring, Tab Switch detection, and Camera Snapshot technology record respondents’ behavior, and thus cheating is prevented. These features develop honesty and reliability.
- Classroom Integration: Classroom Integration helps students and educators deal with task organization in Google Classroom. Teachers can also design, deliver, and mark the assignments through Extended Forms. Auto Score automatically downloads scores, providing an efficient way to grade. Easy form transfer to students enables students to work together.
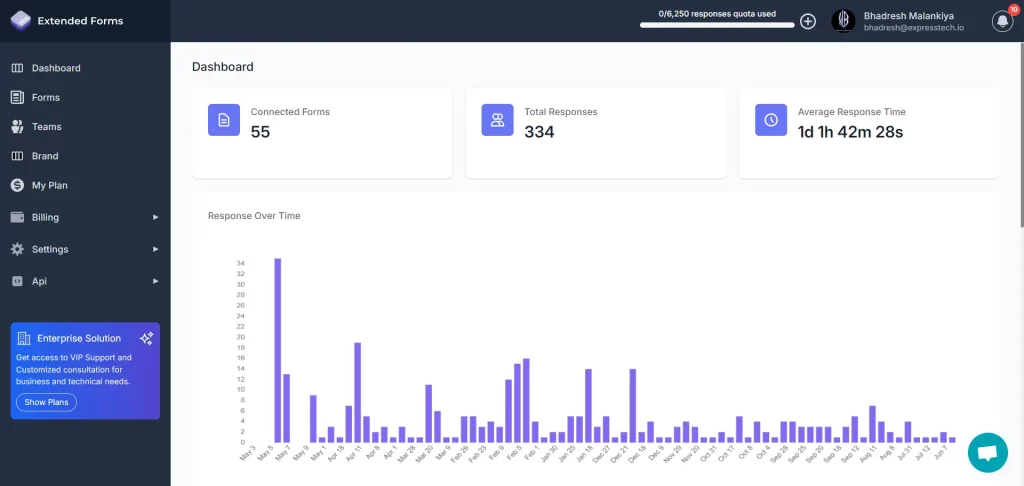
- Dashboard Analytics: Dashboard Analytics offers insight into form performance. It monitors response rates, completion times, and trends, helping administrators improve. Analysis reports and data export help decision-making and user experience refinement processes.
Looking for a customizable timer in Google Forms? Read, ExtendedForms Unveils: Customized Timer Themes
Step 6: Share Your Poll
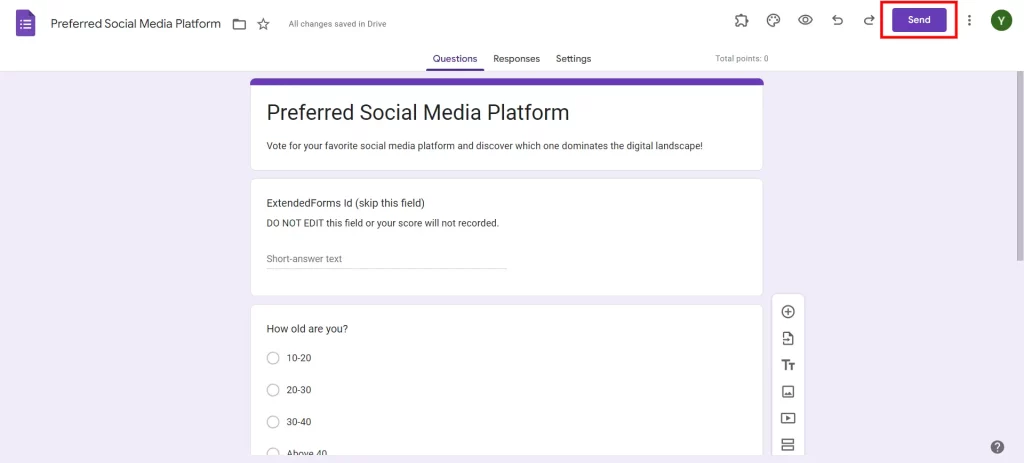
Now, it is time to disperse your questionnaire to the target respondents of your study. Click on the “Send” button located in the upper right corner of the form editor. Choose your preferred method to share the Google Forms: through email, link, or embed code.
Choose “Link” to create a URL to copy and share. Choose “Email” to enter or import email addresses from your contacts. Moreover, “Embed” offers HTML codes that allow easy embedding into websites or blogs. Pick a sharing mode that complies with your communication strategy and audience tastes.
Step 7: Analyze Feedback
While the data slowly comes in, carefully scrutinize the feedback that you have gained through your poll. Go to the “Responses” tab on the top of the form editor for real-time observations. This is where you will read a thorough summary of the responses, showcased in interactive charts and graphs to enhance data visualization.
Diving deeper into it, export the responses to Google Sheets for facilitating further review or collaboration with the stakeholders. Using the analytical abilities of Google Forms, you can translate the feedback into valuable insights, trends, and meaningful conclusions able to guide the right decision-making.
Create a Voting Poll Today!
Google Forms is a versatile tool that offers a seamless platform to create and conduct online polls. From educational assessments to organizational surveys, Google Forms empowers users to gather valuable data effortlessly. With Google Forms, you have easy-to-use tools and helpful features to turn the information you collect into useful insights. This helps you make improvements and come up with new ideas over time.
The ExtendedForms Addon enables educators and trainers to set time-based tests that are flexible and comprehensive. This influential tool transforms the appraisement process altogether. It comes loaded with features like a countdown timer, proctor settings, negative marking, and team management. These attributes not only simplify the evaluation process but also improve the quality of learning.
If you like reading this blog about voting polls in Google Forms, also read How to Create a Question Bank in Google Forms. [In 2 Ways] and How to Make Google Forms Accessible? [In 4 Steps]
